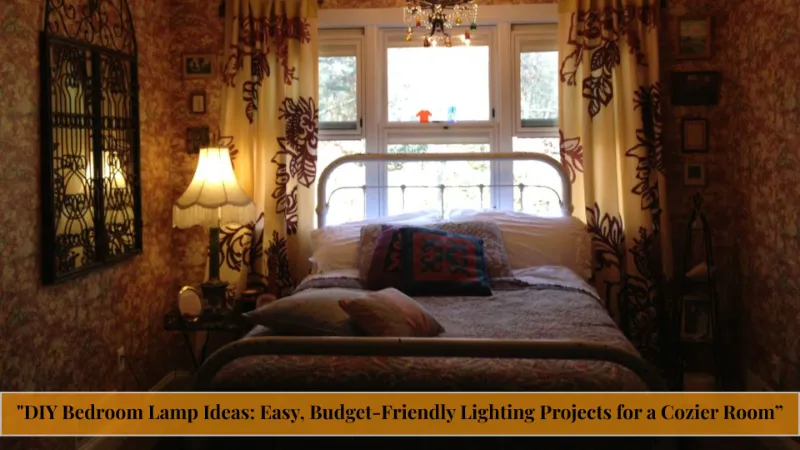
DIY Bedroom Lamp Ideas: Easy, Budget-Friendly Lighting Projects for a Cozier Room

Your bedroom lighting is either working for you or quietly working against you. Harsh overhead bulbs and generic store-bought lamps rarely capture the mood a bedroom deserves, and replacing them with designer fixtures can cost hundreds of dollars you’d rather spend elsewhere.
That’s where DIY bedroom lamp ideas come in. With a few affordable materials, basic tools, and an hour or two of focused work, you can build lighting that looks custom-designed and feels genuinely yours. No electrician, no big-box showroom, no compromise.
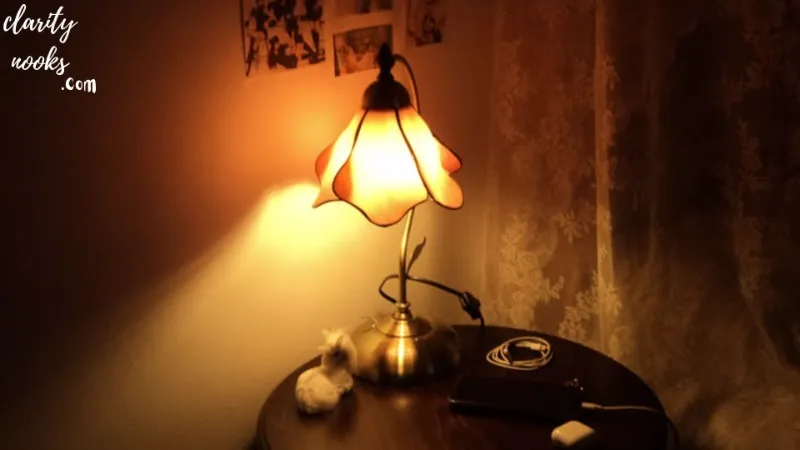
This guide walks through eight tested, budget-friendly lighting projects, each with real materials lists, honest cost estimates, and step-by-step instructions. Whether you want soft ambient lighting for reading or a statement piece that anchors the whole room, there’s a project here sized to your skill level and your weekend.
Mason Jar Pendant Lamp
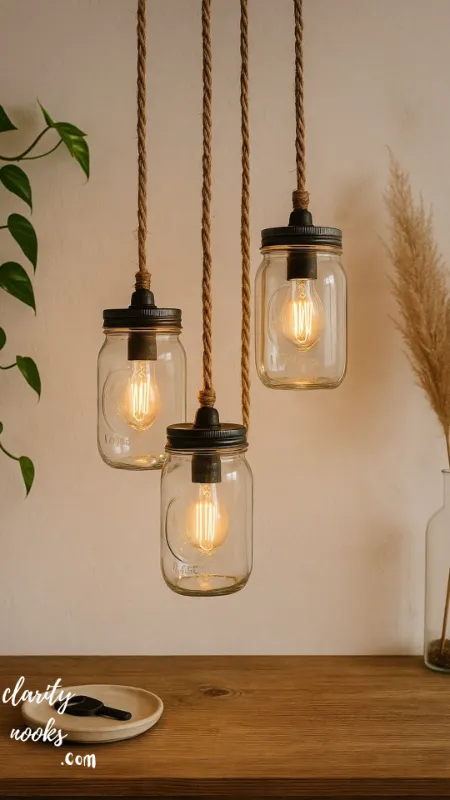
A mason jar pendant lamp is a hanging light fixture made from a repurposed glass jar fitted with a pendant light kit, giving off a warm, farmhouse-style glow.
The mason jar pendant lamp is one of the most forgiving projects on this list, which makes it ideal if you’ve never modified a light fixture before. The glass diffuses the bulb’s light softly, avoiding the stark brightness that generic bedroom lamps often produce.
Materials Needed
1 wide-mouth mason jar (quart size)
Pendant light cord kit with socket (available at hardware stores)
1 Edison-style LED bulb
Drill with a glass/tile drill bit
Ceiling hook or mounting bracket
Masking tape (to prevent the drill bit from slipping)
Estimated Cost $15–$25 per pendant
Step-by-Step Instructions
- Mark the center of the mason jar lid with masking tape to guide your drill bit and prevent cracking.
- Drill a hole through the lid slowly, using light pressure and, ideally, a few drops of water to keep the bit cool.
- Feed the pendant cord through the hole and secure the socket according to the kit’s instructions.
- Screw in the Edison bulb, then thread the jar back onto the lid.
- Mount the ceiling hook above your nightstand or reading nook and hang the finished pendant.
Benefits
- Creates warm, diffused light instead of harsh glare
- Uses inexpensive, easy-to-find materials
- Adds farmhouse or industrial character without buying new fixtures
- Scales easily hang a single jar or a cluster of three
Decorating Tip
Cluster three jars at staggered heights above a reading chair for a boutique-hotel look that costs less than one store-bought pendant.
In a real-world test, a single quart jar with a 40-watt equivalent Edison bulb comfortably lit a 10-by-12-foot bedroom corner for reading, without overpowering the room’s overall ambiance. That’s the kind of ambient lighting most bedrooms actually need.
See Related Articles: DIY Neutral Bedroom Ideas: Easy, Budget-Friendly Ways to Create a Calming Retreat
Macramé-Wrapped Floor Lamp
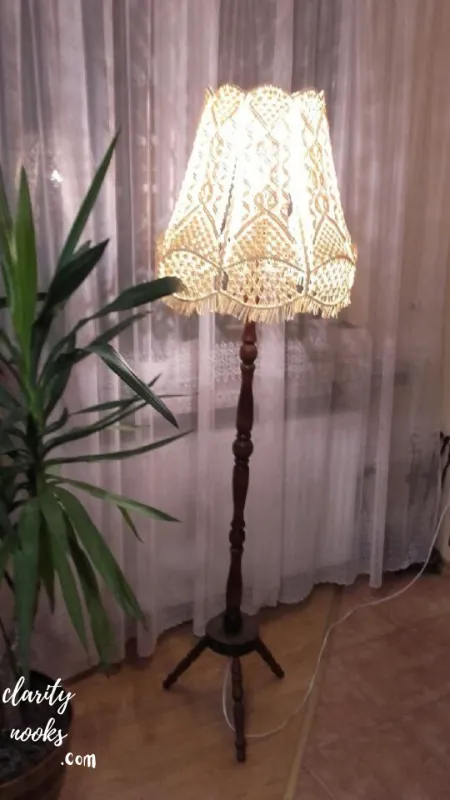
A macramé-wrapped floor lamp transforms a plain metal or wooden lamp stand into a boho-textured statement piece using knotted cord.
This is a no-wiring DIY lamp project, meaning anyone nervous about electrical work can still achieve a dramatic transformation. You’re purely changing the surface texture of an existing lamp, which keeps the project safe and fast.
Materials Needed
Existing plain floor lamp base (thrifted or basic hardware-store model)
3mm cotton macramé cord (roughly 100 feet)
Fabric glue
Scissors
Measuring tape
Estimated Cost $18–$30, or under $10 if reusing an old lamp base
Step-by-Step Instructions
- Remove the lampshade and unplug the lamp before starting any wrapping.
- Secure the end of the cord to the base of the lamp pole with fabric glue and let it dry fully.
- Wrap the cord tightly and evenly up the pole, checking every few wraps that the coils stay flush.
- At the top, tuck the end under the last three wraps and secure with a small dab of glue.
- Reattach a woven or linen lampshade to complete the boho aesthetic.
Benefits
- Instantly upgrades a dated or plain lamp base
- Adds tactile texture that photographs beautifully for room tours
- No electrical work required purely cosmetic and beginner-safe
- Pairs well with rattan, linen, and other natural bedroom textures
Decorating Tip
Choose a cream or oatmeal cord for a light, airy boho bedroom decor feel, or a charcoal cord for a moodier, modern-organic look.
A reader in an online decor forum reported wrapping a $12 thrifted floor lamp in under 90 minutes and receiving more compliments on it than on furniture that cost ten times as much. Texture, it turns out, does a lot of visual work in a bedroom.
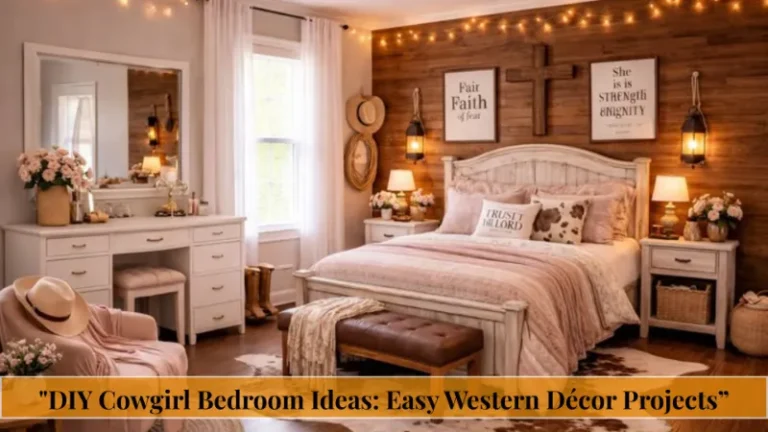
You May Also Like: DIY Cowgirl Bedroom Ideas: Easy Western Décor Projects
Wine Bottle Table Lamp
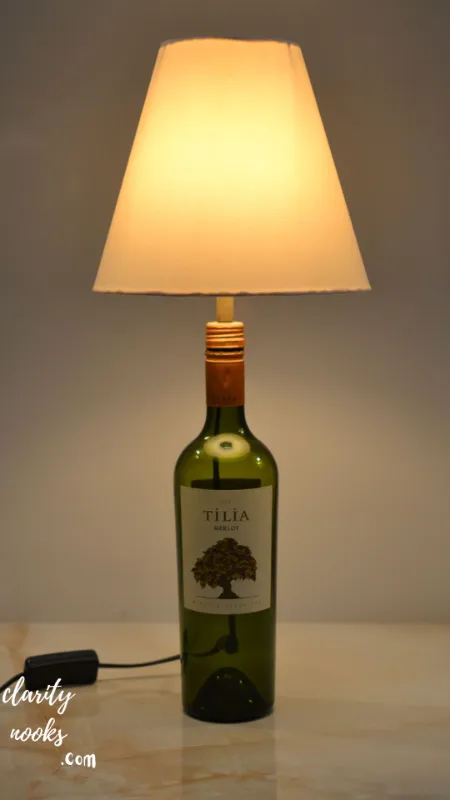
A wine bottle table lamp repurposes an empty glass bottle as a lamp base by fitting it with a bottle lamp adapter kit and topping it with a shade.
The wine bottle table lamp is a genuinely no-drill option, since cork-style adapter kits sit inside the bottle’s neck rather than requiring holes through glass. That makes this one of the safest projects for renters worried about damaging materials.
Materials Needed
Empty wine or spirit bottle (cleaned, label removed)
Bottle lamp adapter kit (cork-style, no drilling required)
Small lampshade (harp-compatible)
LED bulb, low-wattage
Sand or decorative stones (optional, for weight and stability)
Estimated Cost $14–$22
Step-by-Step Instructions
- Clean the bottle thoroughly and remove any adhesive residue from the label using warm soapy water.
- If adding weight, pour sand or decorative stones into the bottle until it feels stable.
- Insert the cork-style adapter into the bottle’s neck this holds the wiring without drilling glass.
- Attach the harp and lampshade to the adapter’s threaded rod.
- Screw in the bulb, plug in, and adjust the shade angle for even light distribution.
Benefits
- Zero glass-drilling required with a cork adapter kit
- Turns a bottle you’d otherwise recycle into a functional fixture
- Easy to customize swap shades seasonally without buying a new lamp
- Great conversation piece for a nightstand or dresser
Decorating Tip
Save a bottle with an interesting shape or colored glass; the bottle itself becomes the design feature, so a plain linen shade usually works best.
Because the bottle itself carries visual interest, resist the urge to pair it with a heavily patterned shade a simple drum shade keeps the eye on the bottle’s shape and color, which is usually the more distinctive element.
Recommended for You: DIY Western Bedroom Ideas: Rustic Ranch-Inspired Designs for 2026
Wooden Crate Nightstand Lamp
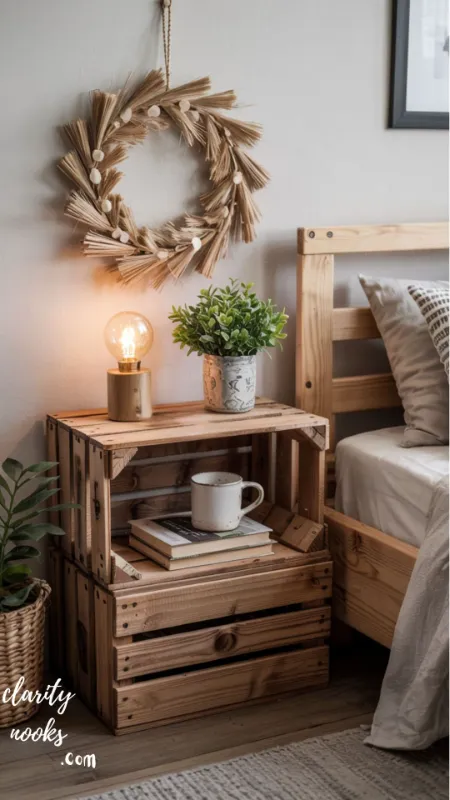
A wooden crate nightstand lamp combines a small storage crate with a built-in light source, functioning as both nightstand and lighting in one compact piece.
For bedrooms tight on floor space, the wooden crate nightstand lamp solves two problems at once: it’s a storage surface and a light source. That dual function makes it especially popular among small-apartment dwellers and dorm residents.
Materials Needed
Small wooden crate (12–16 inches)
Puck light or battery-powered LED strip
Sandpaper (120 and 220 grit)
Wood stain or paint
Frosted acrylic sheet (cut to crate opening size, optional)
Estimated Cost $25–$40
Step-by-Step Instructions
- Sand the crate’s rough edges with 120-grit paper, then smooth with 220-grit for a finished feel.
- Apply wood stain or paint in your chosen finish and let it cure for 24 hours.
- Install the puck light or LED strip along the crate’s interior top edge, following the light kit’s mounting instructions.
- If using a frosted acrylic top, cut it to size and rest it over the opening to diffuse the light.
- Position the finished crate beside your bed and test the light at multiple brightness settings, if dimmable.
Benefits
- Doubles as storage and lighting, saving floor space
- Battery-powered options need no nearby outlet
- Customizable stain color to match existing bedroom furniture
- Sturdy enough to hold a book, glasses, or phone charger on top
Decorating Tip
Stack two crates of different sizes for a tiered nightstand-lamp combo that adds visual height without crowding a small bedroom.
Battery-powered LED strips remove the need for a nearby outlet entirely, which matters if your bed isn’t positioned next to a plug. Just budget for battery changes every few months depending on nightly usage.
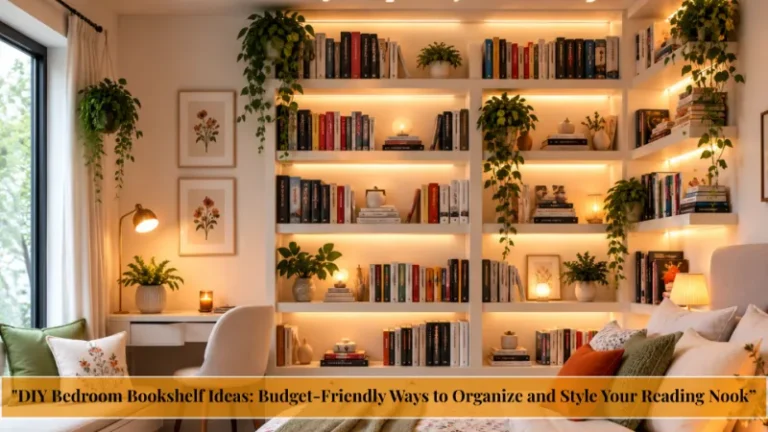
More on This Topic: DIY Bedroom Bookshelf Ideas: Budget-Friendly Ways to Organize and Style Your Reading Nook
Fairy Light Fabric Canopy Lamp
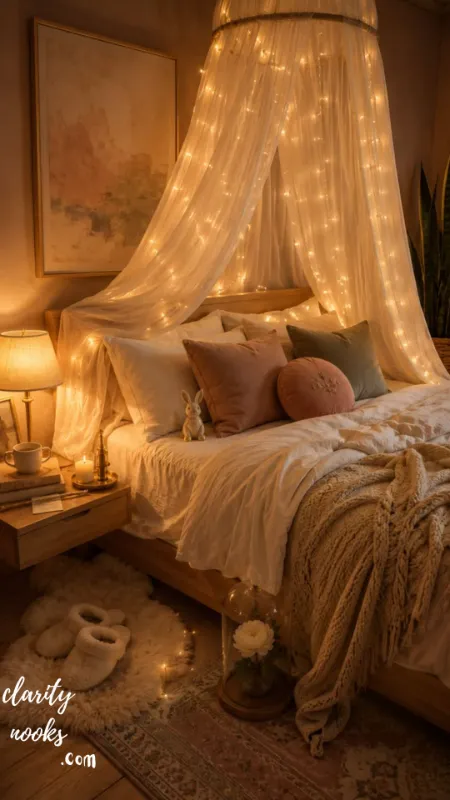
A fairy light fabric canopy lamp suspends a sheer fabric shade around a string of warm LED fairy lights, creating a soft glow that spreads across the ceiling above a bed.
Unlike task-focused fixtures, the fairy light fabric canopy lamp is built for atmosphere first. It’s one of the most requested cozy bedroom lighting projects among renters because it requires no permanent installation and removes cleanly at move-out.
Materials Needed
Sheer fabric (voile or muslin), roughly 2 yards
Warm white LED fairy lights (battery or USB powered)
Embroidery hoop (12–16 inches) for the canopy frame
Hot glue gun
Ceiling hooks
Estimated Cost $20–$35
Step-by-Step Instructions
- Stretch the sheer fabric over the embroidery hoop, trimming excess and securing it with hot glue around the frame.
- Wrap the fairy lights evenly around the inside rim of the hoop, tucking the battery pack out of sight.
- Attach three lengths of cord or ribbon evenly around the hoop to suspend it from the ceiling.
- Install ceiling hooks above the bed and hang the canopy so it sits 12–18 inches above headboard height.
- Turn on the lights and adjust fabric folds so the glow diffuses evenly rather than in visible points.
Benefits
- Extremely low fire risk since LED fairy lights stay cool to the touch
- Softens the entire sleeping area rather than lighting just one spot
- Renter-friendly uses removable ceiling hooks, not permanent wiring
- Doubles as a decorative canopy even during the day
Decorating Tip
Use warm white (2700K) rather than cool white bulbs; cooler tones can feel clinical in a space meant for winding down.
Because the light source sits behind fabric, the canopy avoids the visible-bulb glare that makes some string-light setups look unfinished. The fabric does the real design work here, softening dozens of small points into one continuous glow.
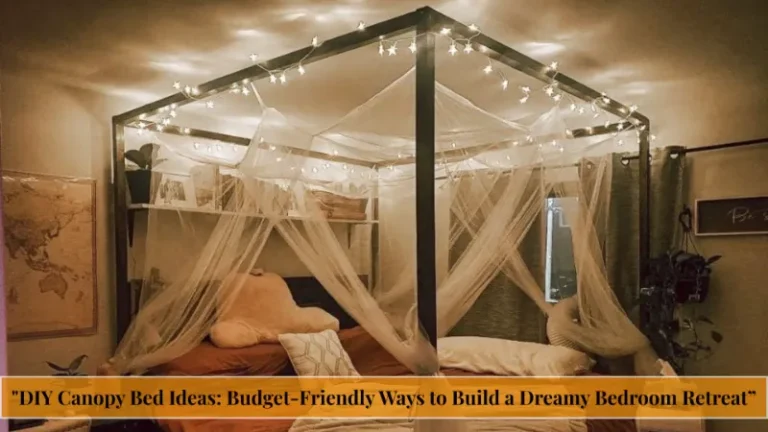
Explore More: DIY Canopy Bed Ideas: Budget-Friendly Ways to Build a Dreamy Bedroom Retreat
Washi Tape Patterned Lampshade
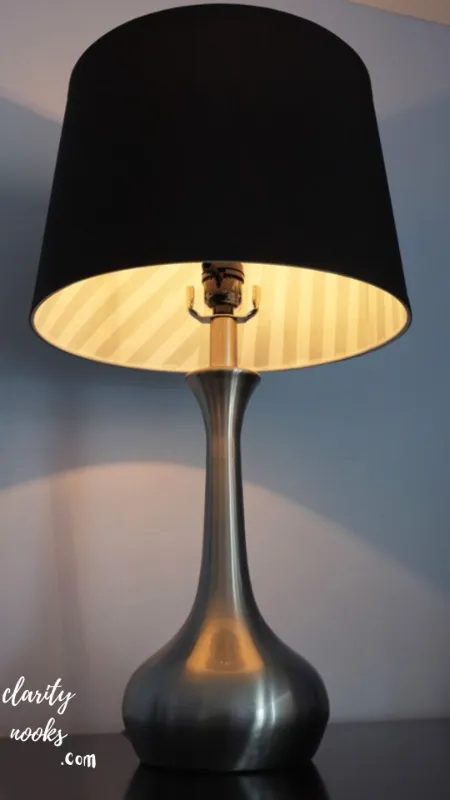
A washi tape patterned lampshade updates a plain paper or fabric shade by applying decorative washi tape in a geometric or striped pattern.
If your existing lamp works fine but looks dated, the washi tape patterned lampshade is the fastest fix most people finish in under 30 minutes. It’s also the most forgiving project here, since a misaligned strip peels off and reapplies without damage.
Materials Needed
Plain lampshade (paper or fabric drum style)
3–4 rolls of washi tape in coordinating colors
Ruler or measuring tape
Craft knife
Pencil for light guideline marks
Estimated Cost $8–$15
Step-by-Step Instructions
- Measure the shade’s height and mark evenly spaced guideline points in pencil around the top and bottom rims.
- Cut washi tape strips slightly longer than the shade’s height for easy trimming later.
- Apply strips vertically, aligning each with your pencil marks, smoothing out air bubbles as you go.
- Trim excess tape at the top and bottom edges with a craft knife for a clean finish.
- Erase any visible pencil marks and fit the shade back onto the lamp base.
Benefits
- The cheapest project on this list, often under $15 total
- No electrical modification completely beginner-safe
- Removable and repositionable if you want to change patterns seasonally
- Works on existing lamps, so nothing goes to waste
Decorating Tip
Alternate two tape colors in a wide-narrow-wide rhythm rather than an even stripe; the slight irregularity reads as more intentional and less like a craft-store pattern.
This project is especially popular in shared or rented rooms, where residents want a personalized look without committing to anything permanent or wiring-related.
Learn more here: Minimal DIY Twin Bedroom Ideas for Clean and Simple Rooms
Concrete Minimalist Base Lamp
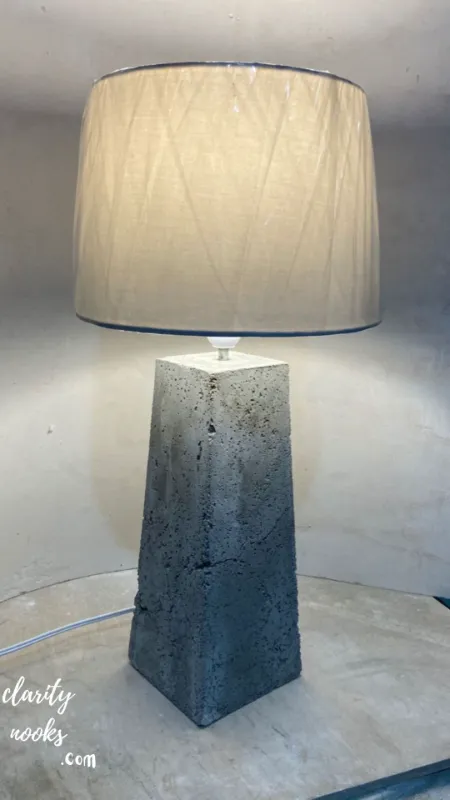
A concrete minimalist base lamp uses a poured concrete cylinder as a weighted, industrial-style lamp base paired with a simple linen or metal shade.
The concrete minimalist base lamp takes more patience than the others on this list, mainly due to curing time, but the result is a genuinely durable, design-forward piece. It suits bedrooms leaning into a modern minimalist bedroom aesthetic.
Materials Needed
Quick-setting concrete mix
Cylindrical mold (cardboard tube or plastic container)
Lamp wiring kit with socket
PVC pipe (to create the wire channel through the concrete)
Felt pads for the base
Simple linen or cone-shaped shade
Estimated Cost $20–$35
Step-by-Step Instructions
- Cut the PVC pipe to the mold’s height and center it inside the mold to form the wiring channel.
- Mix the concrete according to package instructions and pour it around the PVC pipe, tapping the mold to release air bubbles.
- Let the concrete cure fully typically 24 to 48 hours before removing the mold.
- Thread the lamp cord and socket wiring through the PVC channel and secure the socket at the top.
- Attach felt pads to the base and fit the shade over the socket.
Benefits
- Extremely stable base resists tipping better than most lightweight lamps
- Matches minimalist, industrial, or Scandinavian bedroom styles
- Long-lasting material that won’t scratch or dent like plastic bases
- Customizable shape depending on the mold you choose
Decorating Tip
Mix in a small amount of concrete dye during the pour for a soft charcoal or terracotta tone instead of default gray, which pairs especially well with warm-toned bedding.
Because concrete is heavy, this base rarely tips, which makes it a practical choice for a nightstand shared with a phone charger, glasses, or a stack of books.
Find out more: Modern DIY Bedroom Curtain Ideas for a Beautiful Home Interior Look
Upcycled Book Page Lampshade
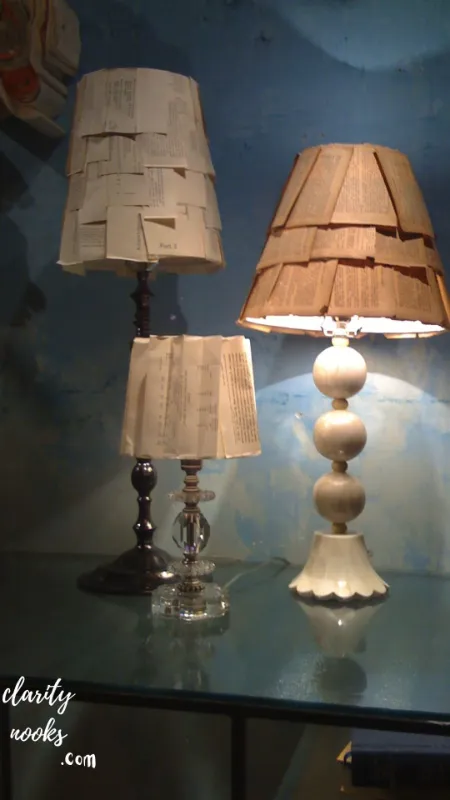
An upcycled book page lampshade covers a plain lamp shade in pages from an old, damaged, or secondhand book, creating a warm, literary-inspired glow.
This project turns a genuine sustainability win into a design statement. Rather than recycling a beaten-up paperback, the upcycled book page lampshade repurposes it into functional decor, which appeals to readers who want their bedroom to reflect their interests.
Materials Needed
Plain paper or fabric lampshade
Pages from an old paperback (damaged or thrifted copies work well)
Craft glue or decoupage medium
Foam brush
Scissors
Estimated Cost $5–$12
Step-by-Step Instructions
- Tear or cut book pages into strips or shapes slightly larger than needed for overlap.
- Apply a thin layer of decoupage medium to a small section of the shade at a time.
- Press each page piece onto the glued section, smoothing from the center outward to avoid bubbles.
- Continue overlapping pieces until the shade is fully covered, brushing a top coat of decoupage medium over the finished surface.
- Allow the shade to dry fully usually 4 to 6 hours before placing it back on the lamp.
Benefits
- Gives new life to books too damaged to donate or resell
- Creates a warm amber glow as light passes through the paper’s texture
- Costs next to nothing if you already own an old paperback
- Fits reading nooks, home libraries, or literary-themed bedrooms particularly well
Decorating Tip
Use pages with visible text or illustrations facing outward near eye level, and reserve blanker pages for the shade’s top and bottom edges where the pattern matters less.
Once lit, the layered paper diffuses light unevenly in a pleasant way, mimicking the mottled warmth of antique glass shades an effect that’s difficult to replicate with printed or synthetic materials.
Final Thoughts
These eight DIY bedroom lamp ideas prove that better lighting doesn’t require a big budget or professional installation. From a five-dollar book page lampshade to a poured concrete base, each project brings warmth, character, and function to your space using materials you likely already have access to. Pick one that matches your comfort level, gather your materials, and set aside an afternoon. The payoff a bedroom that finally feels intentionally lit is worth the small effort it takes to get there.
Trend Analysis: Where DIY Bedroom Lighting Is Headed
DIY bedroom lighting has shifted noticeably toward warm, layered, low-glare setups rather than single overhead fixtures. Search behavior shows rising interest in terms like ‘cozy bedroom lighting’ and ‘ambient lamp ideas,’ reflecting a broader move away from harsh, uniform lighting.
Over the next two to three years, expect continued growth in battery-powered and rechargeable lamp projects, driven by rental demand and a preference for flexible, no-wiring solutions. Smart bulb compatibility allowing DIY lamps to be dimmed or color-adjusted via app is also becoming a standard expectation rather than a luxury add-on.
Sustainability-driven materials, like reclaimed wood, secondhand glass, and upcycled textiles, are moving from a niche trend into a mainstream expectation for handmade home decor, particularly among younger renters furnishing smaller spaces on tighter budgets.
Practical Tips and Expert Insights for Better Results
Wattage matters more than most beginners realize. A 40-watt equivalent bulb is usually plenty for ambient bedroom lighting, while anything above 60 watts equivalent can overpower a small or medium-sized room, especially with lighter-colored shades.
Always test wiring kits before final assembly. Plug in the socket and bulb, confirm it lights properly, and only then proceed to the decorative steps this avoids disassembling a finished project to troubleshoot a faulty connection.
Color temperature shapes mood more than shade design does. Stick to warm white (2700K–3000K) bulbs for nightstand and canopy lamps; save cooler tones (4000K+) for desk or closet lighting where task visibility matters more than ambiance.
Long-Term Strategy: Building Lighting That Lasts
Treat your first DIY lamp project as a base you can evolve rather than a one-time finished product. Shades, cords, and bulbs are all swappable independently, so a wine bottle lamp built today can wear five different shades over five years without rebuilding the whole fixture.
Investing slightly more upfront in a quality wiring kit rather than the cheapest option available pays off over time, since certified kits last longer and reduce fire risk compared to unbranded alternatives.
For renters, prioritize projects built around battery power, ceiling hooks, or freestanding bases over anything requiring permanent wiring changes, so your lighting investment moves with you between apartments.
Future Predictions and Innovations in DIY Lighting
Expect wider availability of plug-and-play smart LED components designed specifically for DIY and craft projects, making it easier to add dimming, scheduling, and color-changing features without any electrical expertise.
AI-assisted design tools are increasingly being used to preview how a lamp project will look in a specific room before any materials are purchased, reducing costly trial-and-error for beginners.
Modular lamp kits pre-wired sockets and cords designed to snap into a wide range of found or handmade bases are likely to become more common at craft and hardware retailers, lowering the technical barrier to entry even further.
Common Mistakes and Hidden Gaps Beginners and Intermediate Makers Miss
Beginners frequently choose bulbs that are too bright for the fixture’s purpose, turning a cozy nightstand lamp into a glare source. Always check the shade’s diffusion strength before selecting bulb wattage.
A common intermediate-level mistake is skipping a stability test. Even visually finished lamps should be gently nudged after assembly to confirm the base won’t tip, particularly with top-heavy designs like the mason jar pendant or fabric canopy.
A hidden gap in most tutorials: they rarely mention cord management. Route cords along baseboards or behind furniture using adhesive clips an unaddressed dangling cord is both a trip hazard and a visual distraction in an otherwise well-designed room.
Frequently Asked Questions
Are DIY bedroom lamps safe to make at home?
Yes, as long as you use a certified wiring kit and follow basic electrical safety steps like testing the bulb and socket before final assembly. Projects using battery-powered LED lights, like the fairy light canopy, carry virtually no electrical risk.
What is the cheapest DIY bedroom lamp idea?
The washi tape patterned lampshade is typically the cheapest option, often costing under $15 since it reuses an existing lamp and shade.
Can I make a DIY bedroom lamp without any wiring skills?
Projects like the washi tape lampshade, macramé-wrapped lamp, and fairy light canopy require no electrical wiring at all, making them ideal for complete beginners.
What bulb type works best for cozy bedroom lighting?
Warm white LED bulbs in the 2700K to 3000K range create the soft, relaxing glow most associated with cozy bedroom lighting, without the harshness of cooler-toned bulbs.
Rameen Zara is the founder of Clarity Nooks, bringing over five years of experience in home décor and interior styling. She shares simple yet practical design ideas that suit real homes and everyday living. Her approach focuses on cozy aesthetics, soft color palettes, and natural textures that create warm, inviting spaces.