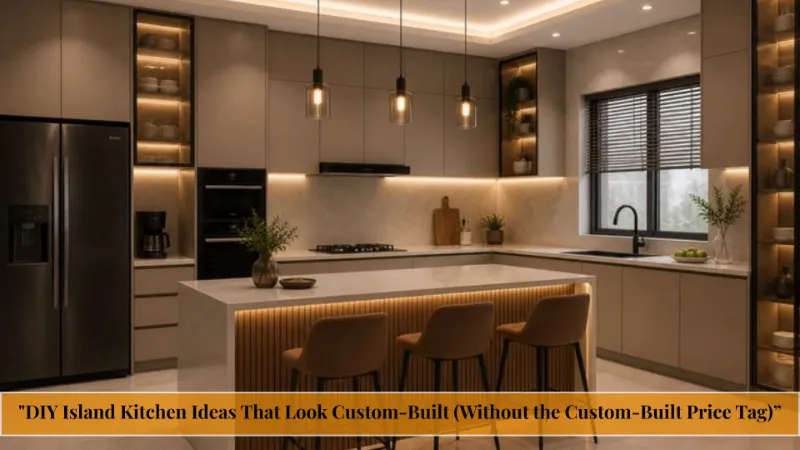
DIY Island Kitchen Ideas That Look Custom-Built (Without the Custom-Built Price Tag)

You love your kitchen, but the layout feels stuck. No landing spot for grocery bags, no extra prep space, nowhere for guests to perch while you cook. A kitchen island fixes all three but a contractor-built one can run $3,000 to $9,000, which isn’t realistic for most budgets.
Here’s the good news: DIY island kitchen ideas let you get the same function, and often the same wow factor, for a fraction of that. This guide walks through seven real builds reclaimed wood, painted cabinets, rolling carts, concrete tops each with materials, cost, steps, and styling tips pulled from actual builds, not theory.
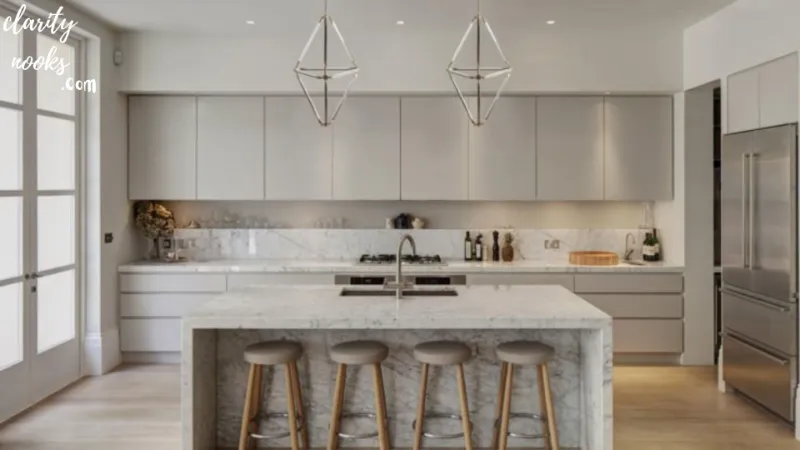
Whether you’re renting, working with a tight footprint, or just want a weekend project that pays off in resale value, one of these seven approaches will fit your kitchen, your tools, and your budget.
What Counts as a DIY Kitchen Island? (Quick Answer)
A DIY kitchen island is any freestanding or semi-permanent work surface you build or assemble yourself from a repurposed dresser topped with butcher block to a fully framed cabinet base with plumbing and electrical. Unlike a custom-built island, most DIY versions skip contractor labor entirely, which is where the real savings come from.
The distinction matters for budgeting. A built-in island is anchored to the floor, often plumbed for a sink, and typically requires a permit. A freestanding island the category most of these ideas fall into can be moved, needs no permit in most areas, and costs roughly 60–80% less to complete.
Each idea below includes the materials list, a realistic cost range, clear numbered steps, the practical benefits, and a styling tip pulled from real builds not generic advice.
Reclaimed Wood Waterfall Island
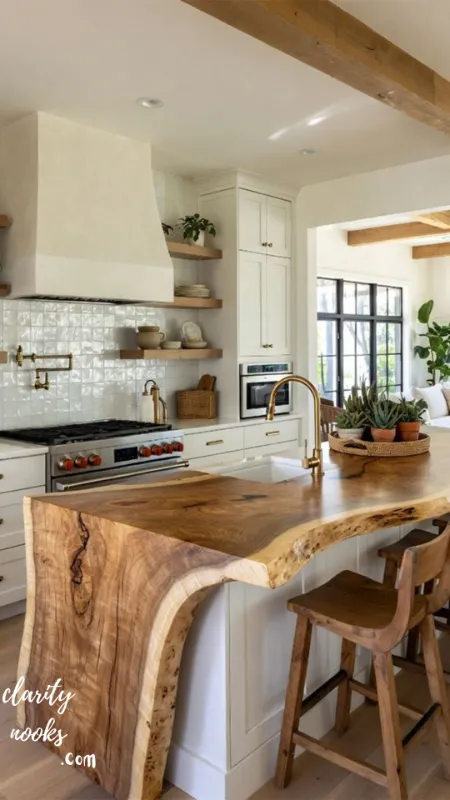
A waterfall edge where the countertop material wraps down the sides in one continuous line reads as high-end custom carpentry. Building it from reclaimed barn wood or salvaged lumber gets you that look for a small fraction of what a stone waterfall countertop costs.
Estimated Cost: $180–$450
Materials Needed
- Reclaimed wood planks or barn board (12–16 sq. ft.)
- 3/4-inch plywood for the internal frame
- Wood glue and pocket-hole screws
- Polyurethane or hard-wax oil finish
- Corner brackets and locking casters (optional)
Step-by-Step
- Build a simple plywood box frame to your target island dimensions (standard height: 36 inches).
- Sand reclaimed planks to remove splinters while keeping natural texture and character marks.
- Attach planks to the top and both long sides in one continuous run to create the waterfall effect.
- Fill gaps with wood filler tinted to match, then sand the whole surface flush.
- Apply two to three coats of hard-wax oil, sanding lightly between coats for a smooth, low-sheen finish.
Benefits
- Uses inexpensive or free reclaimed material
- No stone fabrication or heavy lifting required
- Ages beautifully small dings add character instead of ruining the look
Decorating Tip:
Keep the wood grain running the same direction across the top and down the waterfall sides mismatched grain direction is the single fastest way to make this project look unfinished.
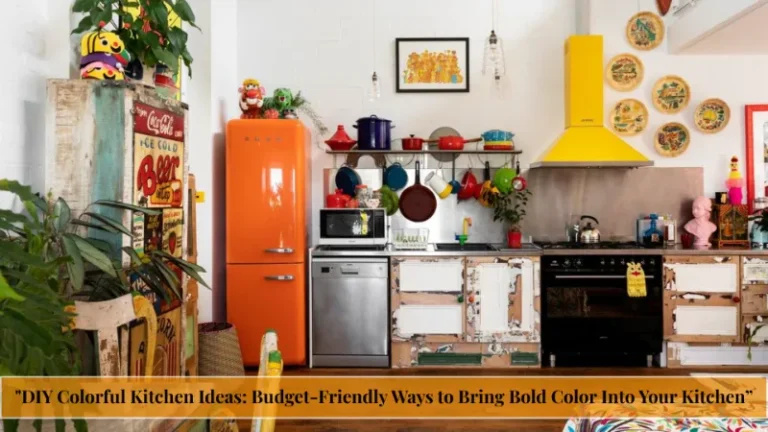
Learn more here: DIY Colorful Kitchen Ideas: Budget-Friendly Ways to Bring Bold Color Into Your Kitchen
Rolling Butcher Block Cart Island
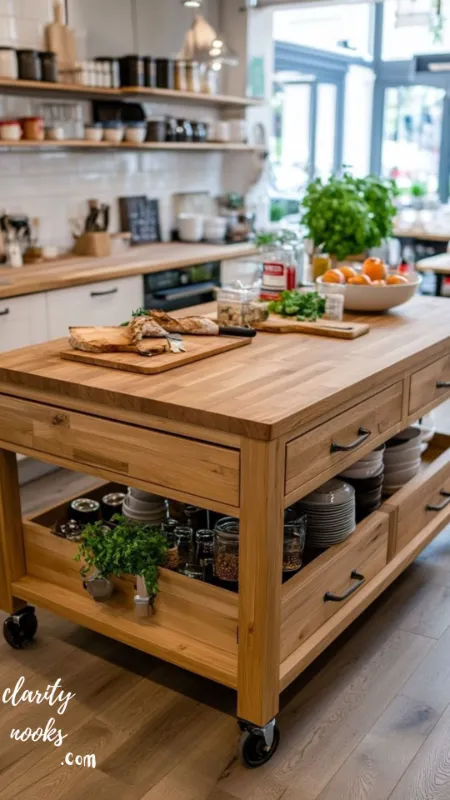
If you’re renting or your kitchen is genuinely tiny, a rolling island solves the storage problem without any permanent construction. This build starts with a basic open shelving cart and adds a butcher block top and locking wheels.
Estimated Cost $120–$300
Materials Needed
- Unfinished wood shelving cart or two stacked crates
- Butcher block countertop remnant (often available cheap at home centers)
- 4 locking swivel casters
- Wood screws and construction adhesive
- Food-safe mineral oil
Step-by-Step
- Measure your cart’s footprint and have a butcher block remnant cut to size, or trim it yourself with a circular saw.
- Sand all raw edges of the butcher block until smooth to the touch.
- Attach the top to the cart frame using construction adhesive plus screws driven up from inside the frame.
- Install locking casters at each corner so the island stays put during prep and rolls away when you need floor space.
- Season the butcher block with food-safe mineral oil, letting it absorb for at least four hours before use.
Benefits
- Fully mobile ideal for renters and small kitchens
- Doubles as extra counter space and a serving cart
- No walls, floors, or permits involved
Decorating Tip:
Add a towel bar to one end and a shallow lip or rail around the top edge it turns a plain cart into a functional prep-and-serve station in one step.
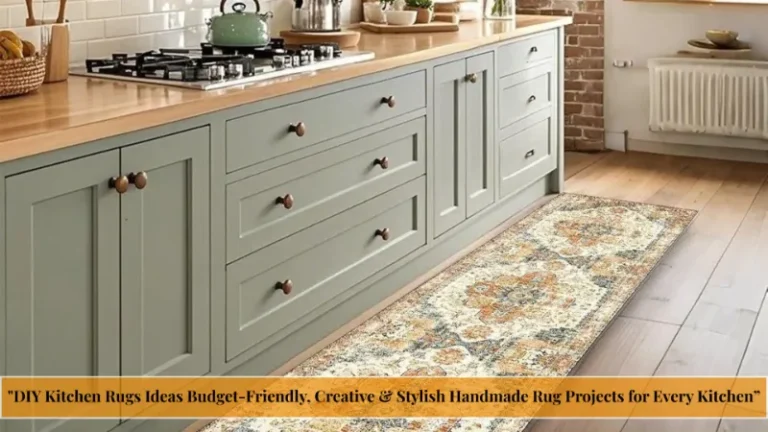
Explore this topic: DIY Kitchen Rugs Ideas Budget-Friendly, Creative & Stylish Handmade Rug Projects for Every Kitchen
Painted Base Cabinet Island with Open Shelving
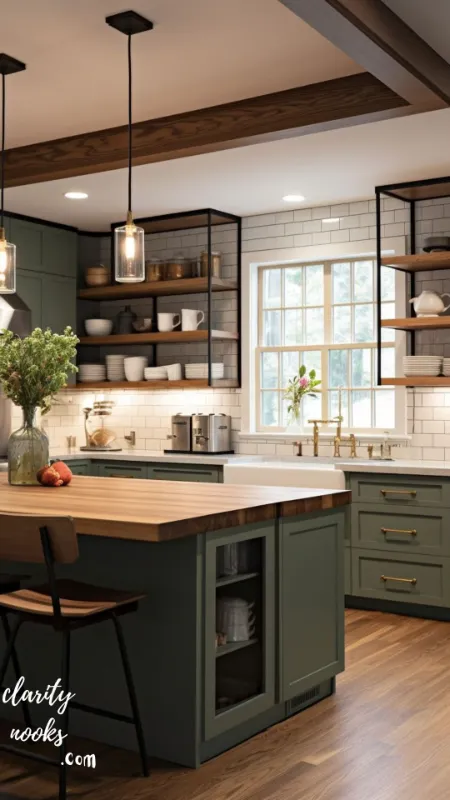
Stock or secondhand base cabinets, bolted together and topped with a slab, are how most budget-conscious islands get built. This version adds open shelving on one side so the island earns display space, not just storage.
Estimated Cost $250–$600
Materials Needed
- 2 stock base cabinets (new, unfinished, or thrifted)
- Plywood or laminate countertop, cut to size
- Cabinet-grade paint and primer
- Wood cleats and L-brackets to join cabinets
- Cabinet pulls or knobs
Step-by-Step
- Join the two cabinet boxes back-to-back or side-by-side using wood cleats and L-brackets.
- Prime and paint the exterior, sanding lightly between coats for a factory-smooth finish.
- Remove the doors on the outward-facing side of one cabinet and add trim to create an open-shelf look.
- Cut and attach the countertop, overhanging one side by 10–12 inches if you want seating.
- Install new pulls and add furniture feet or trim at the base to hide the cabinet toe-kick gap.
Benefits
- Real storage drawers and cabinets, not just surface area
- Fully customizable paint color and hardware
- Scales up easily if you add a third cabinet later
Decorating Tip:
Paint the island a contrasting color from your existing cabinetry. A two-tone kitchen is one of the most searched kitchen trends because it makes a small island read as an intentional design choice, not a mismatched add-on.
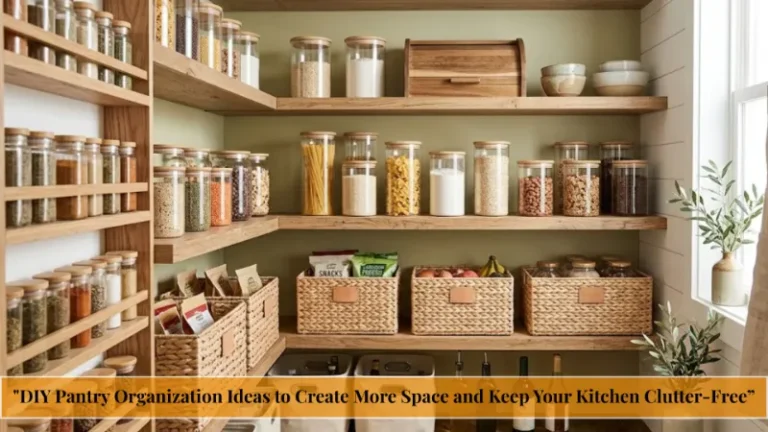
Find out more: DIY Pantry Organization Ideas to Create More Space and Keep Your Kitchen Clutter-Free
Concrete Countertop Island with Pipe Legs
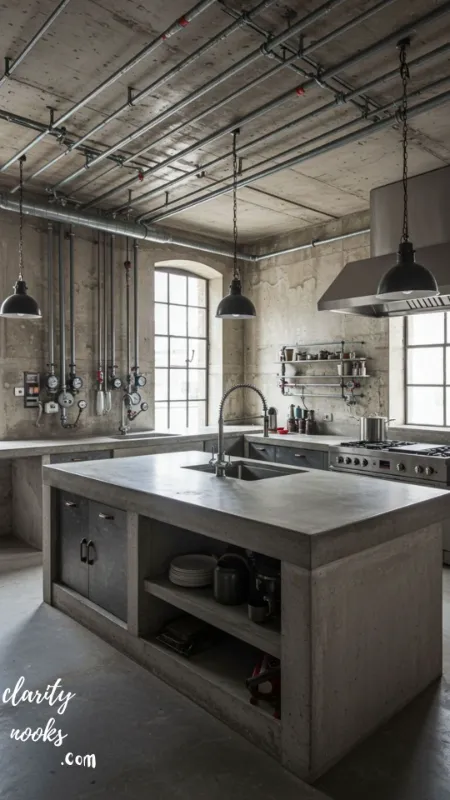
For an industrial or modern-farmhouse look, a poured concrete top on black pipe legs delivers serious visual weight for a materials cost most stone options can’t touch.
Estimated Cost $200–$500
Materials Needed
- Concrete countertop mix (pre-blended)
- Melamine or plywood mold, built to your top’s dimensions
- Concrete sealer
- 4 black iron pipe legs with flanges
- Rebar mesh or fiber reinforcement
Step-by-Step
- Build a mold from melamine board, sealed at the seams with caulk to prevent leaks.
- Lay reinforcement mesh inside the mold, suspended slightly off the bottom.
- Mix and pour the concrete, vibrating the mold gently to release trapped air bubbles.
- Cure for 5–7 days under plastic sheeting before demolding.
- Sand the surface progressively, apply sealer, then attach pipe legs using the flange hardware.
Benefits
- Heat- and scratch-resistant surface for real cooking use
- Pipe legs cost far less than custom cabinetry
- Extremely durable this is a decades-long surface, not a temporary fix
Decorating Tip:
Concrete needs a full cure before sealing, and rushing this step is the most common failure point. Budget a full week before the island goes into daily use.
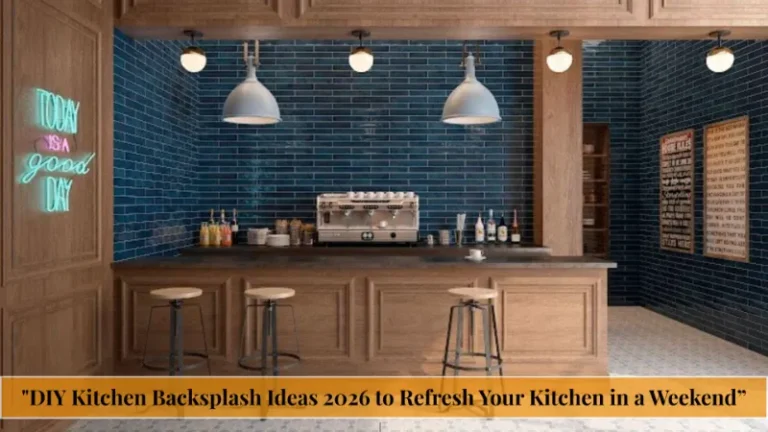
Read our expert tips: DIY Kitchen Backsplash Ideas 2026 to Refresh Your Kitchen in a Weekend
Two-Tier Island with a Built-In Seating Ledge
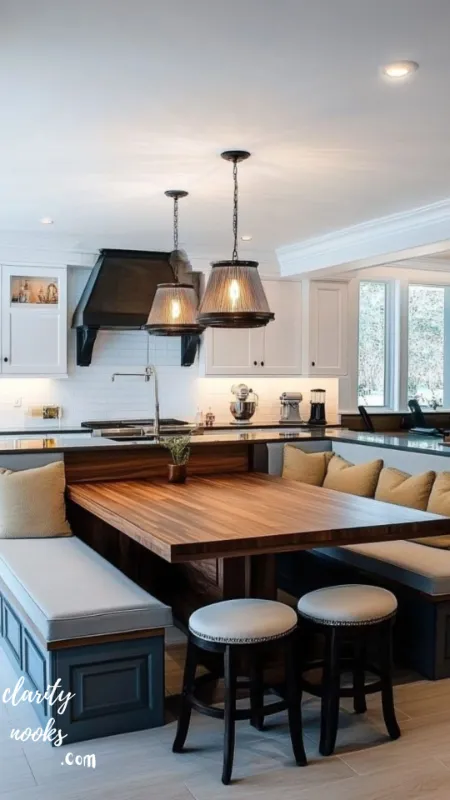
A two-tier design a lower prep counter and a raised bar-height ledge separates cooking mess from seating, which matters if your island doubles as a breakfast spot or homework table.
Estimated Cost $300–$700
Materials Needed
- Base cabinets or a framed plywood box for the lower tier
- 2×4 lumber for the raised ledge frame
- Countertop material for both levels (can mix materials)
- Corbels or brackets to support the overhang
- Bar stools sized to the raised height
Step-by-Step
- Build or install the lower cabinet base first, following standard 36-inch counter height.
- Frame a second, shorter box behind it, built to bar height (40–42 inches).
- Attach both tops, making sure the raised ledge overhangs enough for stool legroom (at least 10 inches).
- Install corbels or steel brackets under the overhang for support and stability.
- Finish both surfaces separately a stained wood lower counter with a painted or tiled upper ledge works well.
Benefits
- Hides prep clutter from anyone seated at the bar
- Creates real seating without a separate table
- Mixing materials between tiers adds visual interest cheaply
Decorating Tip:
Standard stool height is 24–26 inches for counters and 28–30 inches for bar-height ledges measure your raised tier before buying stools, since this is the most common return in DIY island builds.
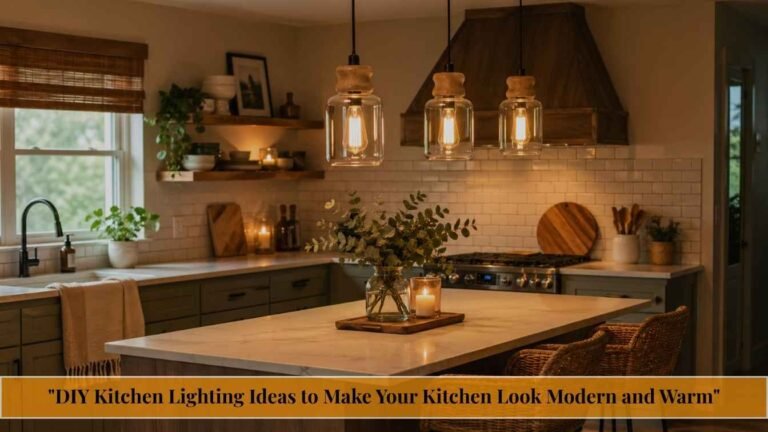
Don’t miss this guide: DIY Kitchen Lighting Ideas to Make Your Kitchen Look Modern and Warm
Tile-Wrapped Island with a Bold Pattern Skirt
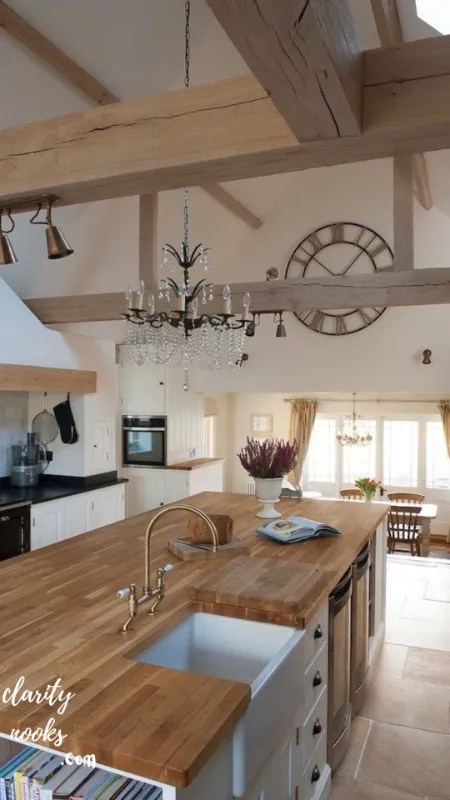
Tiling the sides of a plain cabinet base is one of the fastest ways to make a budget island look like a statement piece. This works especially well over an existing plain cabinet you already own.
Estimated Cost $150–$400
Materials Needed
- Peel-and-stick or thin-set ceramic tile
- Tile spacers and grout
- Grout sealer
- Countertop cap (butcher block or laminate)
- Tile edge trim
Step-by-Step
- Clean and lightly sand the cabinet’s exterior sides so tile adhesive bonds properly.
- Dry-lay your tile pattern first to plan cuts and avoid awkward slivers at corners.
- Set tile with thin-set or peel-and-stick adhesive, using spacers for even grout lines.
- Grout once tile is fully set, then wipe clean before the grout haze dries.
- Seal the grout after 48–72 hours and cap the top with your chosen countertop material.
Benefits
- Transforms an existing plain cabinet without rebuilding it
- Pattern tile is a low-cost way to add a strong focal point
- Tile is wipeable and durable against kick marks and scuffs
Decorating Tip:
Use bullnose or pencil trim tile on any exposed edge an unfinished tile edge is the fastest visual giveaway of a rushed DIY job.
Start learning now: Creative DIY Kitchen Nook Ideas That Make Your Kitchen Feel Warm and Inviting
Repurposed Dresser Island with Marble-Look Top
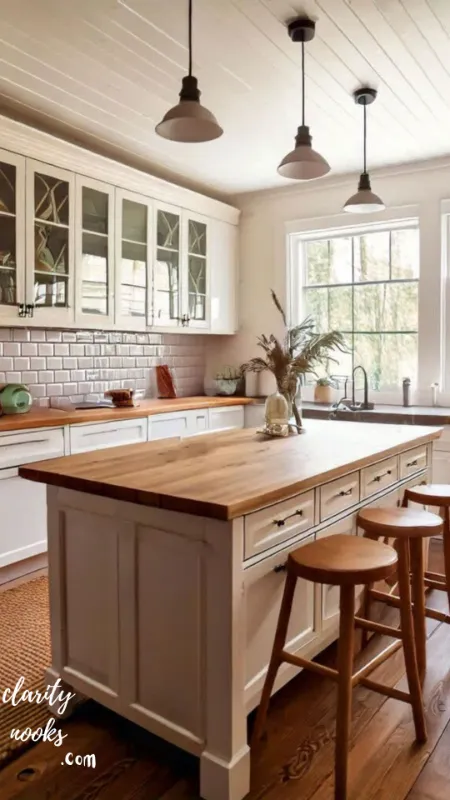
An old dresser, retrofitted with a stone-look top, is the fastest build on this list and a favorite for anyone working with secondhand furniture. It also keeps a solid piece of furniture out of a landfill.
Estimated Cost $100–$350
Materials Needed
- Solid-wood dresser (thrifted or secondhand)
- Marble-look laminate, quartz remnant, or painted faux-marble top
- Wood filler and sandpaper
- Primer and cabinet paint
- New hardware
Step-by-Step
- Remove drawers and hardware, then repair any loose joints with wood glue and clamps.
- Fill old hardware holes if you’re changing pull placement, then sand the entire piece.
- Prime and paint the dresser body in your chosen finish, sealing with polyurethane if it will see heavy use.
- Cut a top to the dresser’s exact footprint, allowing a small overhang on all sides.
- Secure the top with construction adhesive and add new hardware to finish the look.
Benefits
- Fastest build on this list often a single weekend
- Sustainable, since it reuses existing furniture
- Drawers provide immediate, ready-made storage
Decorating Tip:
Check that the dresser’s carcass is solid wood or plywood, not particleboard, before committing particleboard swells and delaminates quickly near kitchen moisture and heat.
More on This Topic: DIY Small Kitchen Ideas to Make Cooking Spaces More Functional
How Much Does a DIY Island Kitchen Really Cost?
Most DIY island kitchen ideas land between $100 and $700, compared to $3,000–$9,000 for a contractor-installed island with plumbing and custom cabinetry. The gap comes almost entirely from labor materials alone rarely explain the difference.
Your final number depends on three variables: whether you’re building from new materials or repurposing furniture, whether the countertop is a remnant or custom-cut, and whether you’re adding electrical or plumbing. Skip the utilities and you stay firmly in DIY territory.
A useful benchmark from real builds: a repurposed dresser island averages $180, a painted cabinet island with a new countertop averages $425, and a concrete-top island averages $350. Budget from there rather than guessing.
Final Thought
A kitchen island doesn’t have to mean a full renovation budget. These seven DIY island kitchen ideas prove that reclaimed wood, thrifted furniture, and a weekend of work can deliver the same storage, prep space, and visual impact as a custom build for a fraction of the cost. Pick the option that matches your tools, timeline, and kitchen size, measure your clearance twice, and start with the build that scares you least. Your kitchen will thank you.
Trend Analysis: Where DIY Kitchen Islands Are Headed (2026–2029)
Two-tone islands remain the dominant search and build pattern heading into 2026, but the color pairing is shifting. Warm, earthy contrasts terracotta, olive, and warm walnut against white or cream are replacing the stark black-and-white pairings that peaked a few years ago.
Expect continued growth in mixed-material builds: wood tops paired with metal legs, or tile skirts paired with butcher block caps. This shift is driven by remnant and secondhand material availability, not just aesthetics builders are combining whatever they can source affordably.
Mobility is also trending upward. With more renters attempting kitchen upgrades, rolling and modular islands are seeing faster search growth than fixed, built-in designs, a pattern likely to continue through 2027–2029 as rental renovation content keeps expanding.
Practical Tips and Expert Insights for Your Build
Measure your kitchen’s clearance before you build anything. The National Kitchen and Bath Association recommends at least 42 inches of clearance around an island in a single-cook kitchen, and 48 inches if two people cook at once. Skipping this step is the single most common regret among first-time island builders.
Weight matters more than most people expect. A poured concrete or stone-remnant top can weigh well over 200 pounds confirm your base frame and casters (if used) are rated to support it before you pour or install.
If your island will sit near a water source or see heavy daily use, prioritize a sealed, wipeable finish over a purely decorative one. Hard-wax oil, polyurethane, and sealed grout all outperform raw or unsealed surfaces in a working kitchen.
Long-Term Strategy: Building an Island That Holds Its Value
A well-built DIY island isn’t just a weekend project it’s a resale consideration. Real estate appraisers consistently note that kitchen islands with real storage (drawers or cabinets, not just open shelving) add more perceived value than purely decorative builds.
Build with future flexibility in mind. A freestanding island can be resold, relocated, or repurposed if you move, while a permanently anchored one cannot. Unless you specifically need plumbing at the island, freestanding construction protects your investment longer.
Choose finishes that are easy to refresh. Paint can be redone in an afternoon; a full material swap cannot. Islands built with paintable cabinet bases and separately sealed tops tend to stay current through more design cycles than fully custom, single-material builds.
Future Predictions and Innovations in DIY Kitchen Islands
AI-assisted design tools are increasingly used at the planning stage homeowners now generate island layout mockups before buying materials, reducing costly measurement mistakes. Expect this to become a standard step in DIY kitchen planning by 2027.
Modular, tool-free island systems (interlocking panels, no-weld metal frames) are gaining traction, aimed squarely at renters and first-time builders who want a finished look without carpentry experience. This category is likely to expand significantly over the next three years.
Sustainable sourcing is shifting from a preference to an expectation. Reclaimed wood marketplaces and secondhand furniture apps are becoming standard first stops for island builders, not backup options, which should keep average project costs trending downward.
Common Mistakes and Hidden Gaps (Beginner and Intermediate)
Beginners most often skip the clearance measurement and end up with an island that blocks the dishwasher or oven door. Always chalk-outline your planned footprint on the floor and open every nearby appliance before you build anything.
Intermediate builders tend to underestimate finish durability. A beautiful raw-wood top with no sealer looks great for a month and then stains permanently from the first spilled glass of wine. Match your finish to how the surface will actually be used, not just how it photographs.
A hidden gap in most guides: electrical planning. Even if you’re not adding outlets now, leave the wall behind your island’s final location accessible in case you want to add power later retrofitting after tile or built-ins are installed costs significantly more.
Frequently Asked Questions
Do I need a permit to build a DIY kitchen island?
In most cases, no a freestanding island with no plumbing or electrical work typically doesn’t require a permit. If you’re adding a sink, gas line, or new electrical circuit, check with your local building department first.
What is the cheapest way to build a kitchen island?
Repurposing an existing dresser or cabinet and topping it with a butcher block remnant is typically the cheapest route, often landing under $200 total.
How long does a DIY kitchen island project take?
Simple builds like a rolling cart or repurposed dresser can be finished in a single weekend. Concrete-top or tiled islands take longer, usually 1–2 weeks including cure and dry times.
Can a DIY island support heavy countertop materials like concrete or stone?
Only if the base frame is built or reinforced for that weight. Standard cabinet boxes may need internal bracing before supporting a poured concrete or stone-remnant top.
Rameen Zara is the founder of Clarity Nooks, bringing over five years of experience in home décor and interior styling. She shares simple yet practical design ideas that suit real homes and everyday living. Her approach focuses on cozy aesthetics, soft color palettes, and natural textures that create warm, inviting spaces.