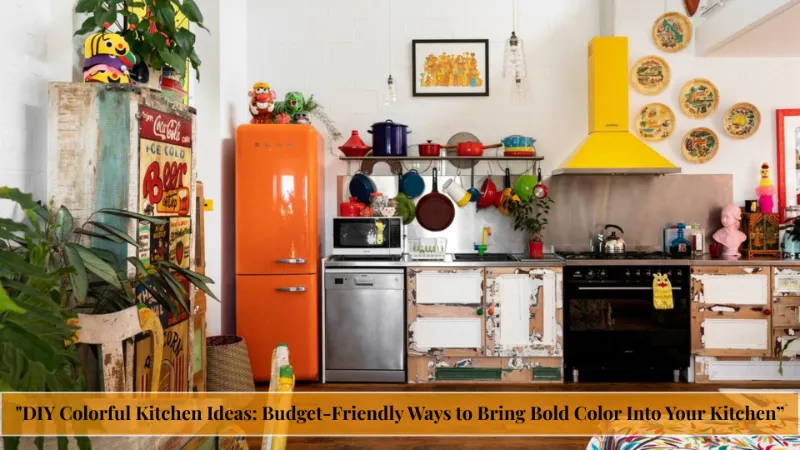
DIY Colorful Kitchen Ideas: Budget-Friendly Ways to Bring Bold Color Into Your Kitchen

A room-by-room, wallet-friendly guide to painting, styling, and accessorizing your kitchen with color that actually lasts.
If your kitchen feels flat, beige, or stuck in a design rut, you are not alone. Most kitchens default to safe white or gray because color feels risky and renovations feel expensive. The good news: a colorful kitchen makeover does not require new cabinets, a contractor, or a five-figure budget.
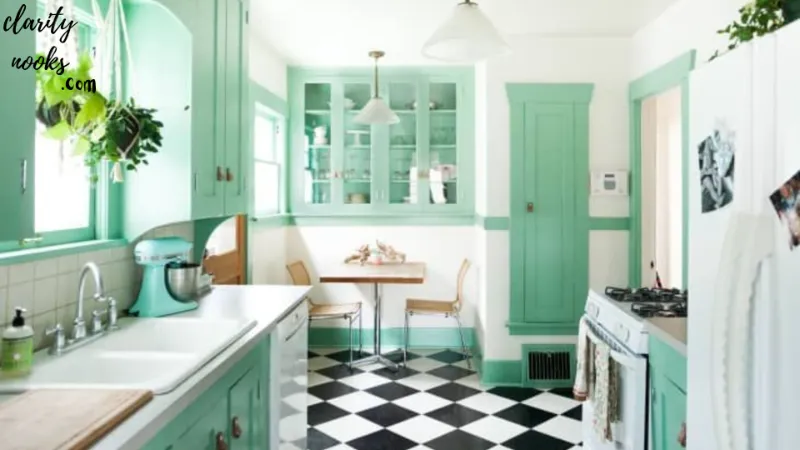
This guide walks through practical DIY colorful kitchen ideas you can finish over a weekend, with real materials, real costs, and real steps. Each project is tested for durability in a working kitchen, not just a styled photo. By the end, you will know exactly which project fits your budget, your rental restrictions, and your skill level.
Whether you rent or own, want a subtle accent or a full color statement, this DIY colorful kitchen ideas roundup covers paint, textiles, lighting, and hardware so you can pick one project today and see results by tomorrow.
What Is a Colorful DIY Kitchen Makeover?
Quick Answer A colorful DIY kitchen makeover is a low-cost update that adds bold color to a kitchen through paint, textiles, lighting, or hardware, without full renovation. Most projects cost between $20 and $250 and take one to two days, using tools like paint, peel-and-stick materials, and swappable accessories.
The core idea behind colorful kitchen decor is choosing one or two focal points, rather than repainting everything. A single accent wall, a painted island, or a bold backsplash creates visual impact while keeping the kitchen color palette cohesive and easy to live with long term.
Paint a Bold Accent Wall
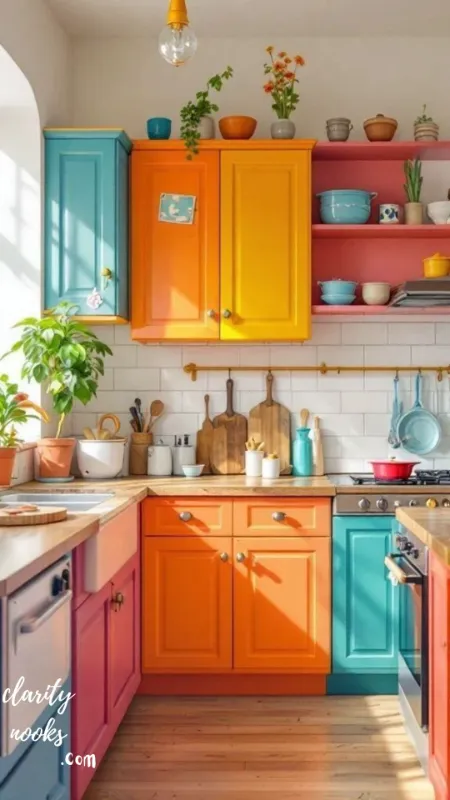
An accent wall is the fastest way to add color without touching cabinets or countertops. Choose the wall behind open shelving or the dining nook for maximum visual payoff with minimal painting time.
Project Snapshot
Materials Needed: sample-size paint, painter’s tape, roller, angled brush, drop cloth
Estimated Cost: $25–$60
Benefit: High visual impact for the lowest possible cost and time investment
Step-by-Step:
- Clean the wall and tape off trim, outlets, and adjacent walls.
- Apply painter’s tape along every edge for crisp lines.
- Roll on two thin coats, letting each dry fully before the next.
- Cut in corners and edges with an angled brush for a clean finish.
Decorating Tip:
Test the color in your kitchen’s actual lighting for 24 hours before committing; undertones shift dramatically under warm bulbs.
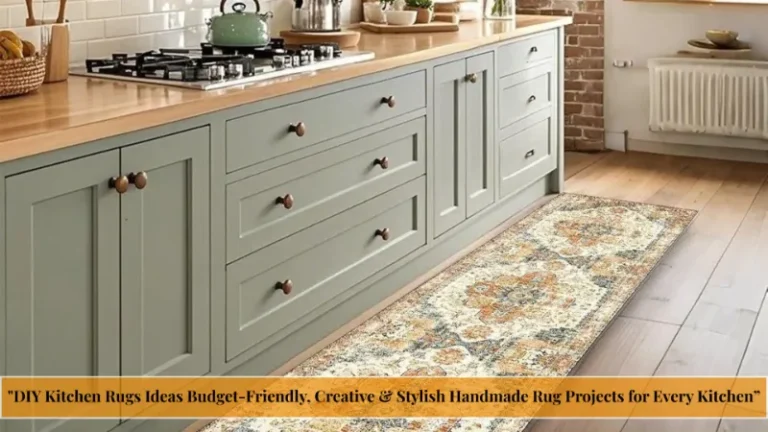
Learn more here: DIY Kitchen Rugs Ideas Budget-Friendly, Creative & Stylish Handmade Rug Projects for Every Kitchen
Give Cabinets a Colorful Makeover
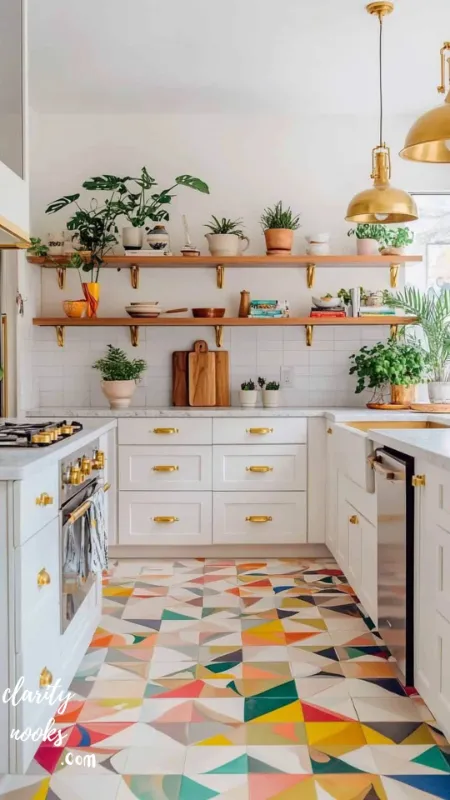
Painting just the lower cabinets in a saturated color while keeping uppers neutral is one of the most requested looks in modern kitchen design, and it costs a fraction of replacement cabinetry.
Project Snapshot
Materials Needed: cabinet-grade paint or enamel, degreaser, sandpaper (220-grit), foam roller, bonding primer
Estimated Cost: $80–$200
Benefit: Transforms the whole room’s tone without a single new cabinet box
Step-by-Step:
- Remove doors and hardware; label each door and hinge location.
- Degrease and lightly sand every surface for paint adhesion.
- Apply bonding primer, then two coats of cabinet-grade enamel.
- Cure for 3–5 days before rehanging doors to avoid sticking.
Decorating Tip:
Choose a satin or semi-gloss finish; matte paint scuffs quickly near handles and hinges.
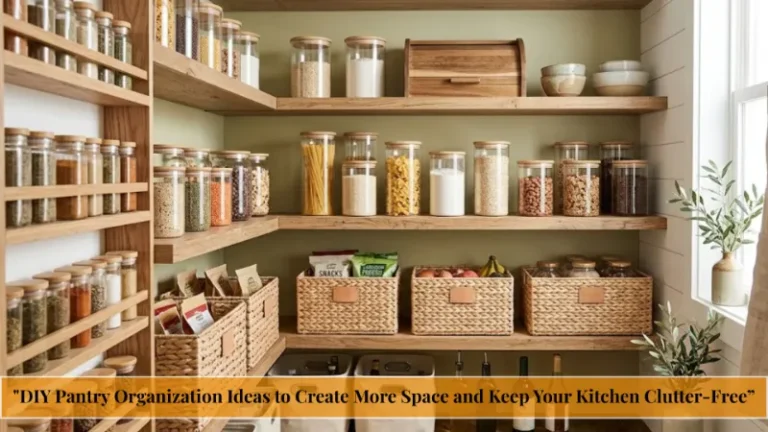
Explore this topic: DIY Pantry Organization Ideas to Create More Space and Keep Your Kitchen Clutter-Free
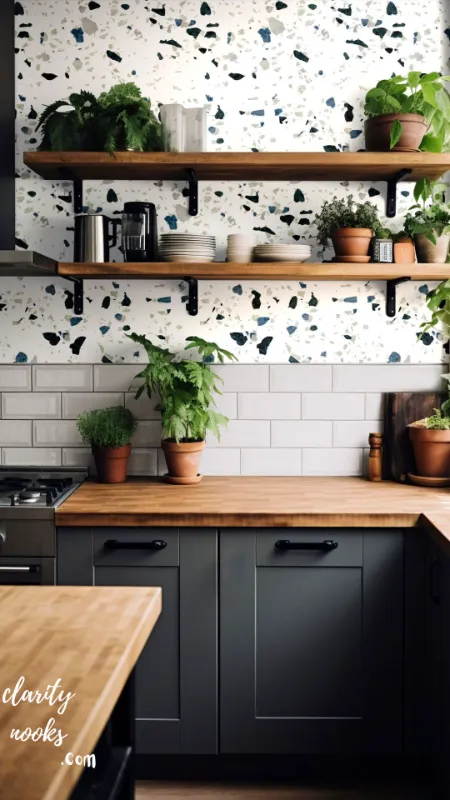
Install a Bold Peel-and-Stick Backsplash
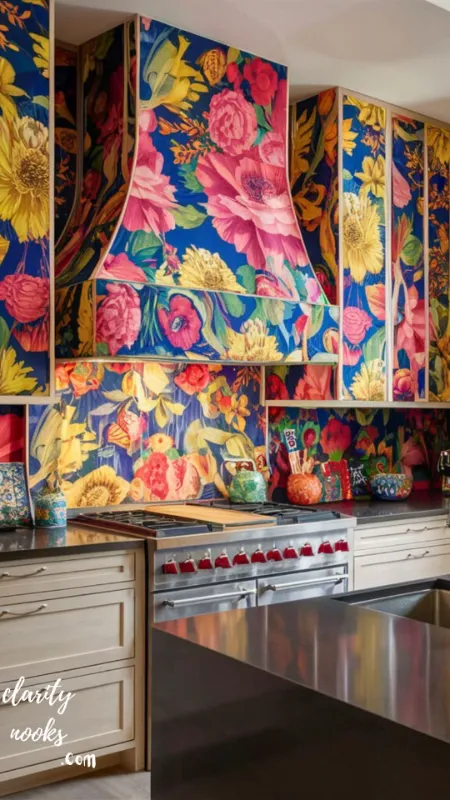
A peel-and-stick backsplash delivers the look of tile in an afternoon, and it is fully renter-friendly since it removes cleanly from most painted walls.
Project Snapshot
Materials Needed: peel-and-stick tile sheets, utility knife, smoothing tool, tape measure
Estimated Cost: $40–$120
Benefit: Instant pattern and color behind the stove or sink with zero grout mess
Step-by-Step:
- Clean and dry the wall surface completely before starting.
- Measure and dry-fit sheets, marking cut lines for outlets.
- Peel backing gradually, smoothing out air bubbles as you go.
- Trim edges with a utility knife for a seamless finish.
Decorating Tip:
Start from the center of the wall outward so any pattern repeat stays symmetrical.
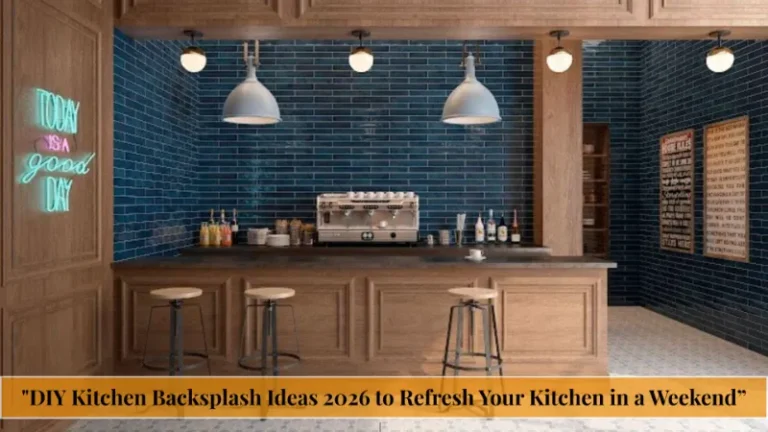
Find out more: DIY Kitchen Backsplash Ideas 2026 to Refresh Your Kitchen in a Weekend
Style Open Shelving in Rainbow Order
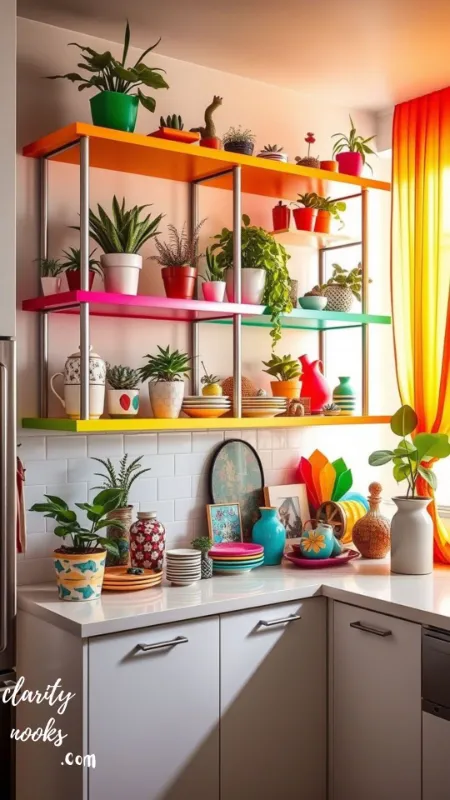
If you already have open shelves, arranging dishware, glassware, and cookbooks by color gradient turns everyday items into a display without buying anything new.
Project Snapshot
Materials Needed: existing dishware, colored glass jars, cookbooks, small plants
Estimated Cost: $0–$40
Benefit: Zero-waste styling that uses items you already own
Step-by-Step:
- Pull everything off the shelf and sort by color family.
- Place heavier, darker items lower for visual balance.
- Arrange lighter and brighter pieces at eye level and above.
- Add one plant or ceramic accent per shelf to break up rows.
Decorating Tip:
Leave 20% of shelf space empty; overcrowded shelves read as cluttered, not curated.
See the full breakdown: DIY Kitchen Lighting Ideas to Make Your Kitchen Look Modern and Warm
Paint the Kitchen Island as a Focal Point
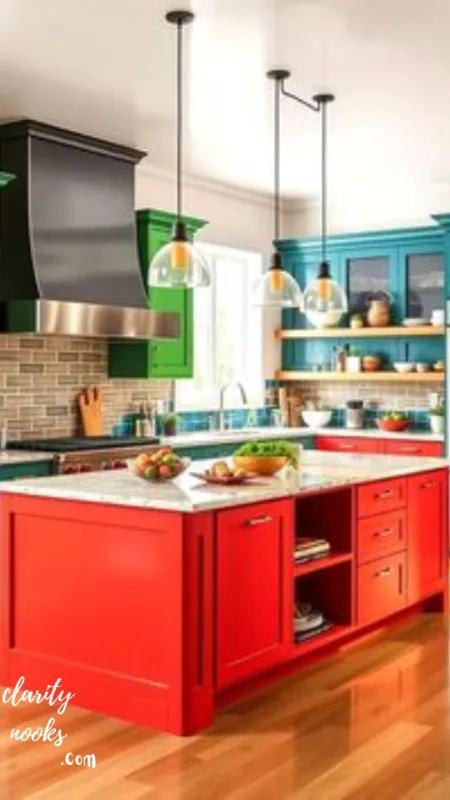
Treating the kitchen island as a standalone furniture piece, painted a contrasting color from the perimeter cabinets, is a designer trick that costs almost nothing to DIY.
Project Snapshot
Materials Needed: cabinet enamel, primer, sandpaper, painter’s tape, foam roller
Estimated Cost: $50–$100
Benefit: Creates a designer two-tone kitchen look for the price of one paint can
Step-by-Step:
- Sand and clean all island surfaces thoroughly.
- Tape off the countertop edge to protect stone or laminate.
- Prime, then apply two coats of enamel, sanding lightly between coats.
- Reinstall hardware once the paint has fully cured.
Decorating Tip:
Pick a color that appears elsewhere in the room, like on a rug or curtains, so the island feels intentional rather than random.
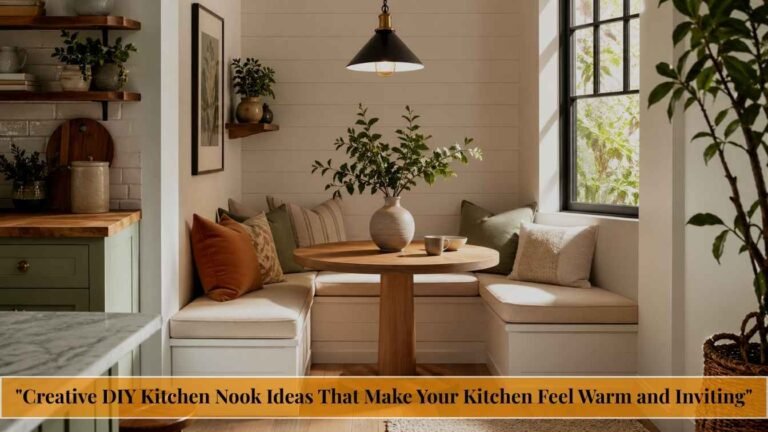
Read our expert tips: Creative DIY Kitchen Nook Ideas That Make Your Kitchen Feel Warm and Inviting
Swap in Colorful Bar Stools or Chairs
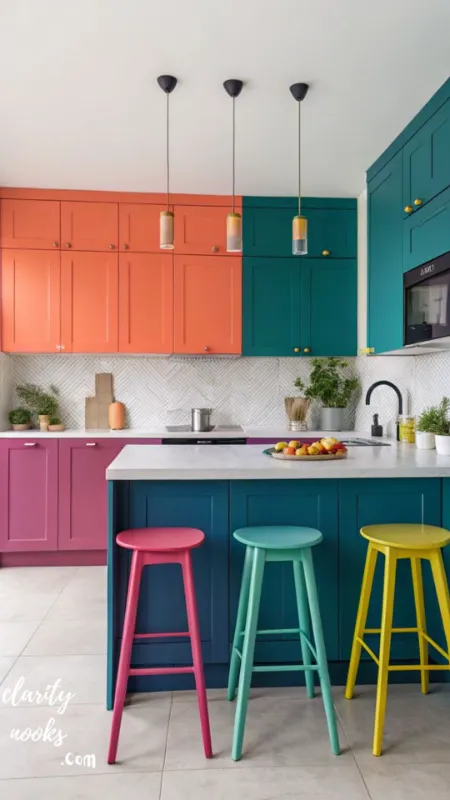
New seating is one of the easiest kitchen decor upgrades because it requires no tools and can be returned or resold if you change your mind.
Project Snapshot
Materials Needed: 2–4 colored bar stools or dining chairs
Estimated Cost: $60–$220
Benefit: Instant color and personality with zero installation time
Step-by-Step:
- Measure counter height to choose the correct stool height.
- Pick a color that repeats elsewhere in the kitchen once.
- Assemble stools per manufacturer instructions.
- Position with enough legroom for comfortable seating.
Decorating Tip:
Choose a wipeable vinyl or performance fabric seat; kitchens see more spills than any other room.
Explore related content: DIY Small Kitchen Ideas to Make Cooking Spaces More Functional
Add a Vibrant Washable Area Rug
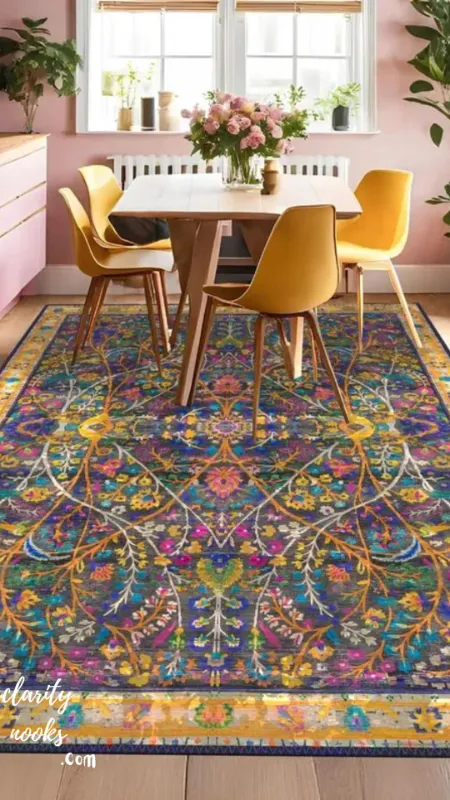
A colorful kitchen rug anchors the room, softens hard floors, and is one of the few decor choices you can change seasonally without any cost beyond the rug itself.
Project Snapshot
Materials Needed: machine-washable low-pile rug, non-slip rug pad
Estimated Cost: $30–$90
Benefit: Adds warmth, sound absorption, and color at floor level instantly
Step-by-Step:
- Measure the space in front of the sink or stove.
- Choose a low-pile, machine-washable rug for kitchen durability.
- Place a non-slip pad underneath for safety.
- Rotate or wash monthly to prevent uneven wear.
Decorating Tip:
Avoid high-pile or shag rugs in kitchens; they trap grease and are difficult to clean.
Don’t miss this guide: DIY Kitchen Decor Ideas That Actually Transform Your Space
Install a Statement Pendant Light
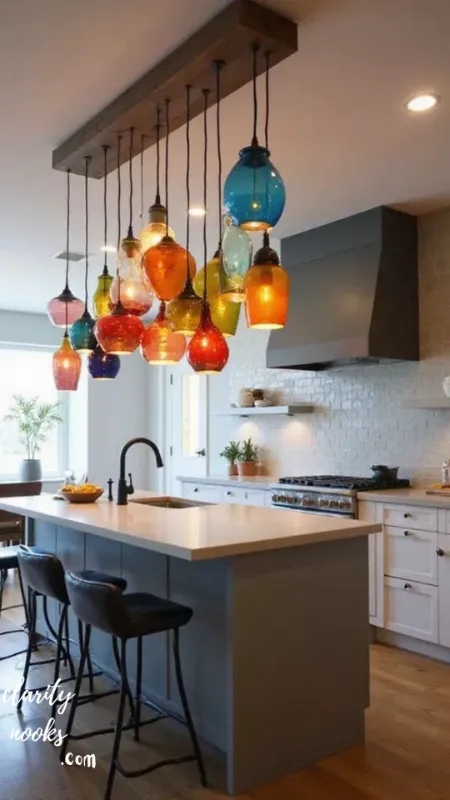
A colored pendant light over the island or sink draws the eye upward and adds color without touching a single wall or cabinet.
Project Snapshot
Materials Needed: colored glass or ceramic pendant fixture, basic wiring tools (or plug-in version)
Estimated Cost: $45–$150
Benefit: Adds a focal point and improved task lighting simultaneously
Step-by-Step:
- Turn off power at the breaker before any wiring work.
- Remove the existing fixture and note wire connections.
- Wire the new pendant following the included instructions.
- Secure the mounting bracket and test before finishing trim.
Decorating Tip:
If rewiring feels risky, choose a plug-in pendant kit; no electrician required.
Must-Read Articles: DIY Colorful Living Room Ideas: Budget-Friendly Ways to Brighten Your Space
Swap Cabinet Hardware for Colorful Pulls
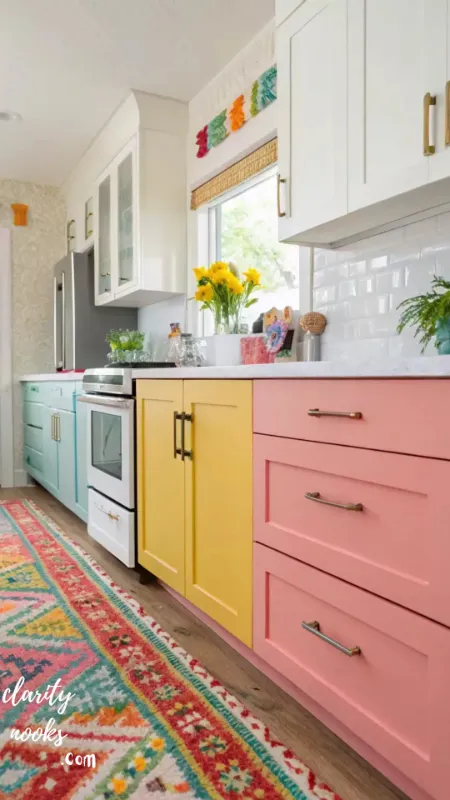
New cabinet hardware is the lowest-cost, highest-return project on this list, taking under an hour for a full kitchen.
Project Snapshot
Materials Needed: colored knobs or pulls, screwdriver, measuring tape
Estimated Cost: $20–$70
Benefit: Refreshes the entire kitchen’s look in under 60 minutes
Step-by-Step:
- Remove existing hardware and check screw hole spacing.
- Order matching-spacing pulls to avoid drilling new holes.
- Install new hardware, hand-tightening first to check alignment.
- Tighten fully once every piece is straight and level.
Decorating Tip:
Mix two coordinating colors, like brass and matte teal, for a curated, non-matchy look.
Line Drawers and Pantry Shelves with Pattern
Adding colorful contact paper or shelf liner to drawers and pantry shelves is a hidden-but-joyful upgrade that costs almost nothing.
Project Snapshot
Materials Needed: adhesive contact paper or shelf liner, scissors, squeegee
Estimated Cost: $15–$35
Benefit: Adds a surprise pop of color every time a drawer opens
Step-by-Step:
- Remove drawer contents and clean the surface fully.
- Measure and cut liner to fit each drawer or shelf.
- Peel backing slowly, smoothing with a squeegee to avoid bubbles.
- Trim excess edges with scissors for a clean fit.
Decorating Tip:
Use a bolder pattern inside drawers than you would on walls; it is a private detail, not a full-room commitment.
Real-Life Example: A Rental Kitchen Transformation
A reader in a rental apartment combined three ideas from this list: peel-and-stick backsplash, colorful bar stools, and new cabinet hardware. Total spend was $185, completed over one weekend, with everything fully reversible at move-out.
The result: a kitchen that looked professionally renovated in before-and-after photos, without a single permanent change to the unit. This is the kind of low-risk, high-impact DIY kitchen project that works for renters and owners alike.
Final Thoughts
A colorful kitchen does not require a renovation budget, just the right DIY colorful kitchen ideas applied with intention. Start small with hardware or a rug, then work up to bolder projects like an accent wall or painted island as your confidence grows. Pick one project from this list, gather the materials this week, and give yourself a weekend to see the transformation. Your kitchen deserves more than beige.
Trend Analysis: Where Colorful Kitchens Are Heading (2026–2029)
In 2026, saturated, nature-inspired colors like terracotta, olive, and deep teal are replacing the all-white kitchen trend that dominated the last decade. Homeowners increasingly treat kitchens as living spaces, not just functional rooms, driving demand for personality-driven color choices.
Over the next two to three years, expect two-tone cabinetry and colorful islands to become the default recommendation from designers, rather than a niche trend. Search data shows rising interest in ‘colorful kitchen ideas’ and ‘kitchen island color’ queries, reflecting a broader shift toward customization over uniformity.
Sustainability is also shaping color trends: low-VOC paints and recycled-material backsplashes are gaining share as buyers prioritize eco-conscious renovation alongside aesthetics.
Practical Tips and Expert Insights
Professional designers recommend the 60-30-10 color rule: 60% dominant neutral, 30% secondary color, and 10% bold accent. Applied to a kitchen, this might mean white walls, colorful lower cabinets, and a bright accessory like stools or a rug for the accent layer.
Test paint and material samples under both natural daylight and evening artificial light before committing. A color that looks perfect at noon can shift dramatically under warm LED bulbs at night, a mistake that causes most repaint regrets.
Long-Term Strategy and Sustainability
Prioritize projects that are easy to update later, like hardware, textiles, and lighting, over permanent changes when you are still narrowing down a color direction. This keeps your total investment low while you test what actually feels right in daily use.
For long-term durability, invest in cabinet-grade enamel paint and washable textiles rather than the cheapest available options. The slightly higher upfront cost pays off in fewer touch-ups and a longer-lasting finish, especially in high-traffic kitchens.
Future Predictions and Innovations
AI-powered visualization tools are increasingly letting homeowners preview paint colors and cabinet finishes in their own kitchen photos before buying a single can, reducing costly color mistakes.
Expect wider adoption of peel-and-stick and modular color systems for backsplashes, countertop wraps, and even cabinet fronts, driven by rental markets and a growing preference for reversible, commitment-free design choices.
Common Mistakes and Hidden Gaps
- Skipping primer: Paint applied without primer chips and fades far faster, especially on cabinets.
- Choosing too many accent colors at once: More than two accent colors in a small kitchen reads as chaotic rather than curated.
- Ignoring lighting temperature: Warm bulbs shift blues toward green and cool bulbs mute warm tones; always test under your actual bulbs.
- Underestimating cure time: Rehanging cabinet doors before enamel fully cures causes sticking and peeling within weeks.
- Forgetting rental restrictions: Always confirm lease terms before painting cabinets or walls permanently.
Frequently Asked Questions About Colorful Kitchen DIY Projects
How much does a DIY colorful kitchen makeover cost?
Most single projects range from $20 to $250, depending on materials. Combining three or four smaller projects, like hardware, a rug, and an accent wall, typically stays under $400 total.
What is the easiest way to add color to a kitchen without painting?
Swap cabinet hardware, add a colorful rug, or introduce a peel-and-stick backsplash. These options require no painting or wiring and can be completed in an afternoon.
Will a colorful kitchen hurt resale value?
Bold accents on removable elements, like hardware, rugs, and stools, have no impact on resale. Permanent choices like cabinet color should stay within timeless, moderately saturated tones for broad buyer appeal.
Can renters do these projects?
Peel-and-stick backsplash, contact paper, rugs, stools, and pendant swaps are fully reversible and renter-friendly when the original fixtures are stored for move-out.
Rameen Zara is the founder of Clarity Nooks, bringing over five years of experience in home décor and interior styling. She shares simple yet practical design ideas that suit real homes and everyday living. Her approach focuses on cozy aesthetics, soft color palettes, and natural textures that create warm, inviting spaces.