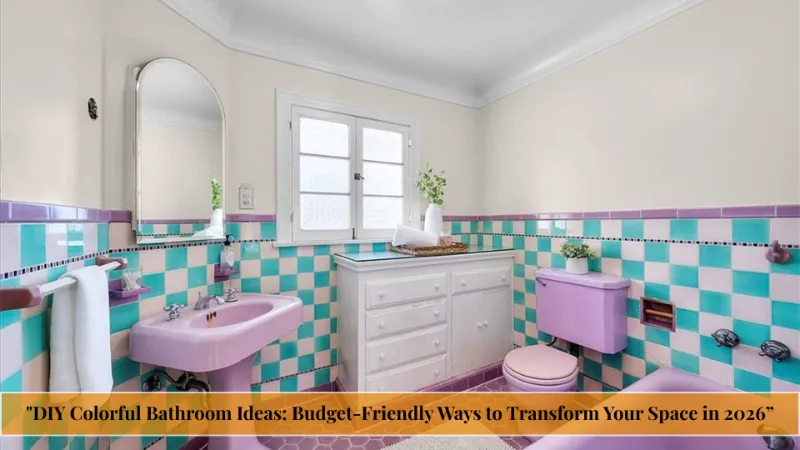
DIY Colorful Bathroom Ideas: Budget-Friendly Ways to Transform Your Space in 2026

A dull, all-white bathroom is easy to ignore and hard to enjoy. If you shower every morning in a space that feels flat and forgettable, you’re not alone it’s one of the most common complaints homeowners have about this small but important room.
The good news: you don’t need a contractor or a five-figure budget to fix it. DIY colorful bathroom ideas let you inject personality, warmth, and energy into your space using paint, tile, textiles, and a weekend of effort.
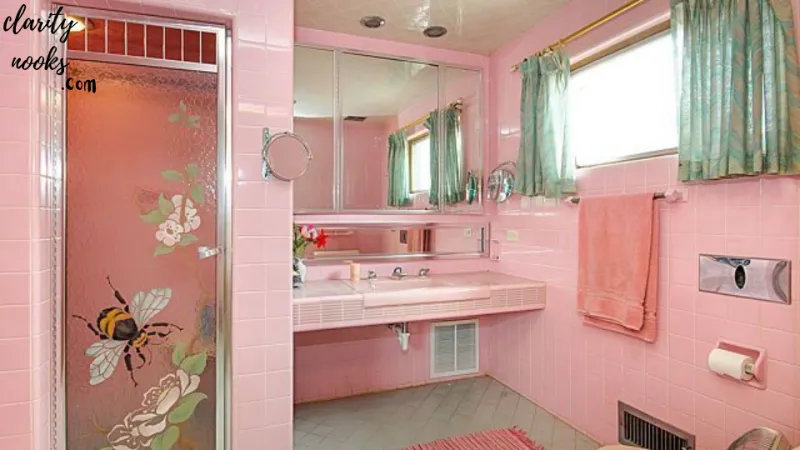
This guide walks through practical, tested DIY bathroom color ideas each with materials, real costs, step-by-step instructions, and styling tips. Whether you rent or own, want a bold accent wall or a subtle color refresh, you’ll find an idea that fits your space and skill level.
Paint a Bold Accent Wall Behind the Vanity
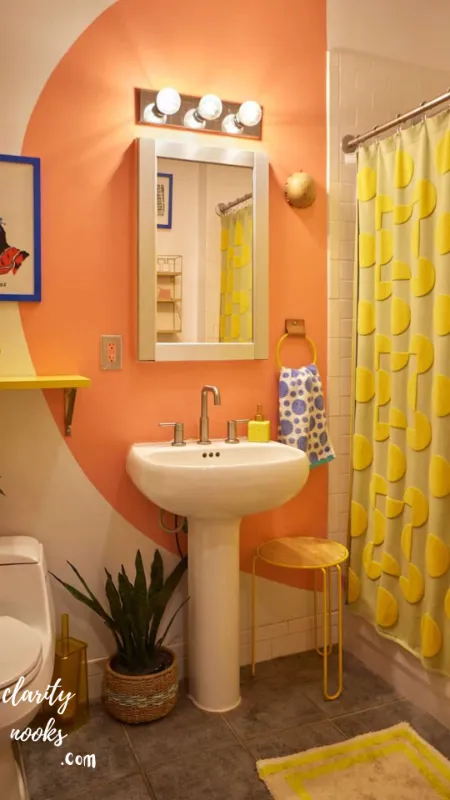
A bold accent wall is the fastest way to add color without committing to a full repaint. Painting just the wall behind your vanity or tub creates a focal point while keeping the rest of the room neutral and easy to coordinate.
This works especially well in small bathrooms, where a single saturated wall reads as intentional design rather than overwhelming color. Deep teal, terracotta, and forest green are trending choices for 2026 because they photograph well and pair with brass or matte black fixtures.
Materials Needed
- Bathroom-rated (moisture-resistant) paint 1 quart
- Painter’s tape
- Angled sash brush
- Small foam roller
- Drop cloth
- Primer (if painting over dark or glossy surfaces)
Estimated Cost: $35–$60
Step-by-Step Instructions
- Clean the wall with a damp cloth and let it dry fully.
- Tape off trim, outlets, and adjacent walls with painter’s tape.
- Apply primer if the existing color is dark or the surface is glossy; let dry 2–4 hours.
- Cut in edges with the angled brush, then roll the main surface in a thin, even coat.
- Let the first coat dry 4 hours, then apply a second coat for full opacity.
- Remove tape while the paint is still slightly tacky to get clean lines.
Why It Works:
A single accent wall costs a fraction of a full room repaint but delivers the same visual impact. It’s also low-commitment repainting one wall later takes an afternoon, not a weekend.
Decorating Tip:
Choose a moisture-resistant, satin or semi-gloss finish flat paint absorbs humidity and can peel or mildew in a bathroom environment.
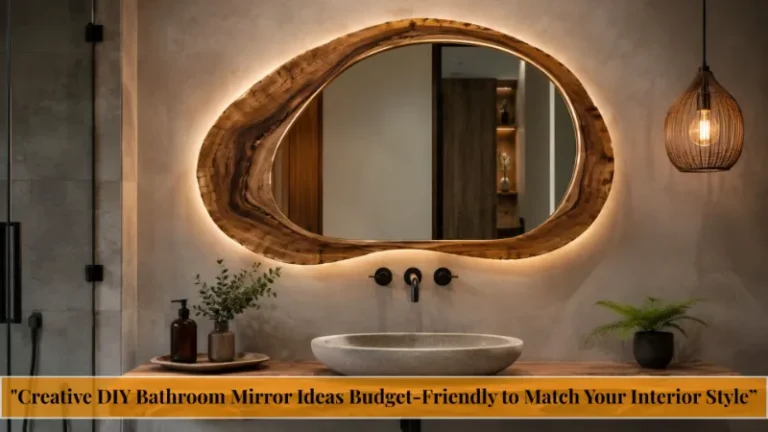
Must-Read Articles: Creative DIY Bathroom Mirror Ideas Budget-Friendly to Match Your Interior Style
Add Peel-and-Stick Colorful Tile Backsplash
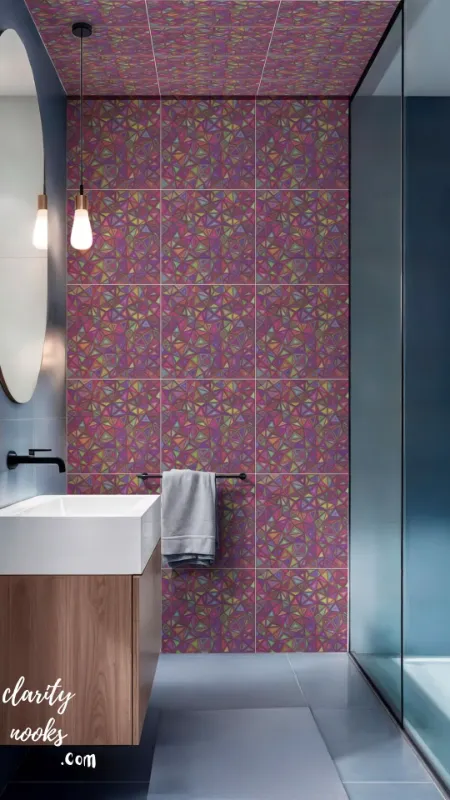
Peel-and-stick tile has come a long way since its early plastic-looking versions. Modern vinyl and gel-based tiles mimic ceramic and cement tile patterns convincingly, making them ideal for renters or anyone hesitant to commit to permanent tile work.
A colorful backsplash behind the sink or along a shower half-wall adds pattern and personality in a contained area, so even a small $40 project can transform how the whole room feels.
Materials Needed
- Peel-and-stick tile sheets (colorful pattern)
- Tape measure
- Utility knife
- Level
- Smoothing tool or credit card
Estimated Cost: $40–$90
Step-by-Step Instructions
- Measure the backsplash area and calculate how many tile sheets you need, adding 10% extra for cuts.
- Clean and dry the wall surface completely adhesion fails on dusty or damp walls.
- Use a level to mark a straight starting line.
- Peel the backing off one sheet at a time and press firmly, working out air bubbles with a smoothing tool.
- Trim edges with a utility knife around outlets or corners.
- Press seams firmly and let the adhesive set for 24 hours before wiping down.
Why It Works:
This is one of the few renter-friendly bathroom upgrades that looks genuinely custom. It removes cleanly when you move, and most sheets are water-resistant enough for splash zones.
Decorating Tip:
Order a sample sheet first colors often read differently under bathroom lighting than they do on a screen.
Recommended for You: DIY Girly Room Ideas: Trendy Decor Hacks for a Soft Glam Bedroom Look
Reglaze or Paint an Old Bathtub in a Statement Color
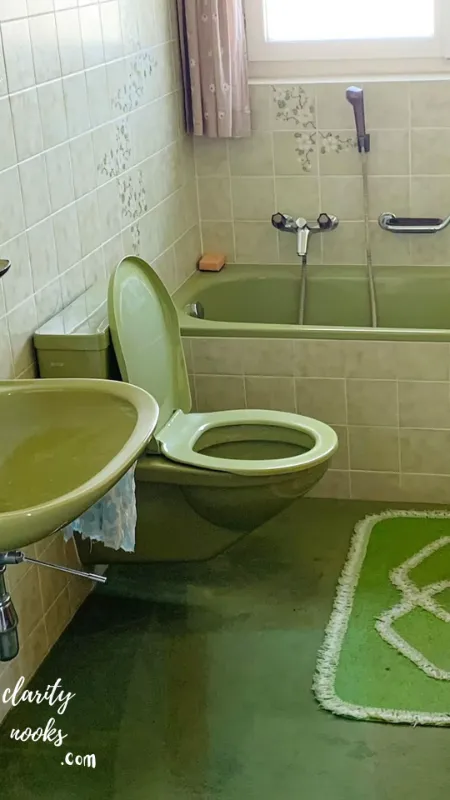
If your tub is structurally sound but visually tired, a colorful tub refinish can be dramatically cheaper than replacement. Specialty tub-and-tile epoxy paint is formulated to withstand water, soap, and daily scrubbing.
This is a more advanced project, but it delivers one of the highest-impact transformations on this list a colored tub instantly becomes the room’s centerpiece.
Materials Needed
- Tub-and-tile epoxy paint kit
- 220-grit sandpaper
- Degreasing cleaner
- Painter’s tape
- Foam roller and brush
- Respirator mask (epoxy fumes are strong)
Estimated Cost: $120–$200
Step-by-Step Instructions
- Ventilate the room and degrease the tub surface thoroughly.
- Lightly sand the entire tub to help the epoxy adhere.
- Wipe away all dust with a tack cloth.
- Tape off the surrounding tile and fixtures.
- Apply epoxy in thin, even coats per the kit’s instructions, usually two coats.
- Cure for the full recommended time (often 48–72 hours) before any water contact.
Why It Works:
Reglazing costs roughly 10–20% of full tub replacement while achieving a similarly dramatic visual reset, according to typical home-improvement cost comparisons.
Decorating Tip:
Work in a well-ventilated space and never rush the cure time early water exposure is the most common reason DIY reglazing jobs fail.
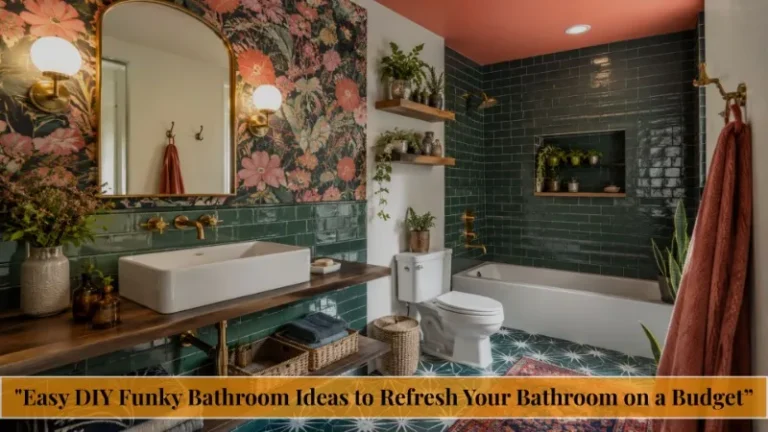
Learn more here: Easy DIY Funky Bathroom Ideas to Refresh Your Bathroom on a Budget
Hang Colorful Shower Curtains as a Design Anchor
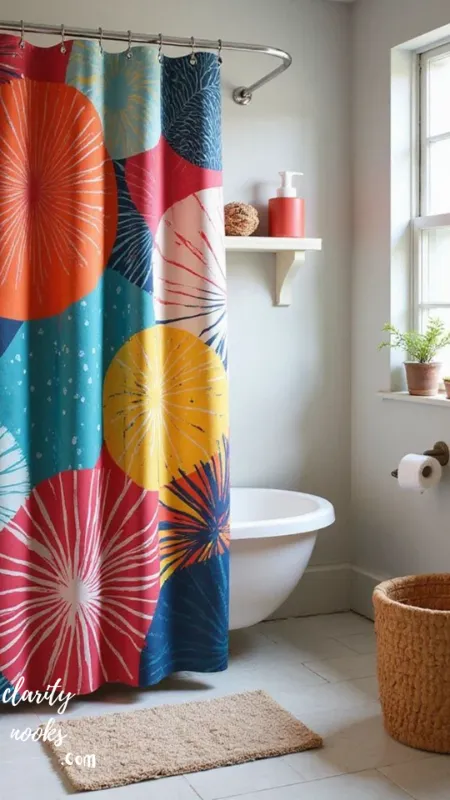
A patterned or brightly colored shower curtain is the lowest-effort, highest-flexibility way to add color. It requires zero tools and can be swapped seasonally without any risk to walls or fixtures.
Because it’s the largest single textile in most bathrooms, the curtain effectively sets the room’s color palette everything else (towels, bath mat, accessories) can be chosen to complement it.
Materials Needed
- Fabric shower curtain (colorful print)
- Curtain rings
- Optional liner
Estimated Cost: $20–$50
Step-by-Step Instructions
- Choose a curtain in a color or pattern that anchors your desired palette.
- Pair it with a plain waterproof liner to protect the fabric from direct water contact.
- Hang using rustproof rings on your existing rod.
- Steam or iron on low heat to remove packaging creases before hanging.
Why It Works:
This is the easiest entry point for DIY colorful bathroom decor no painting, no adhesive, no permanent change, making it perfect for renters and commitment-shy decorators alike.
Decorating Tip:
Weight the curtain hem with small magnets or a chain to keep it from billowing during showers.
Explore this topic: Smart DIY Bathroom Tile Ideas to Make Any Bathroom Look Bigger
Paint or Refinish Cabinet Doors in a Contrasting Hue
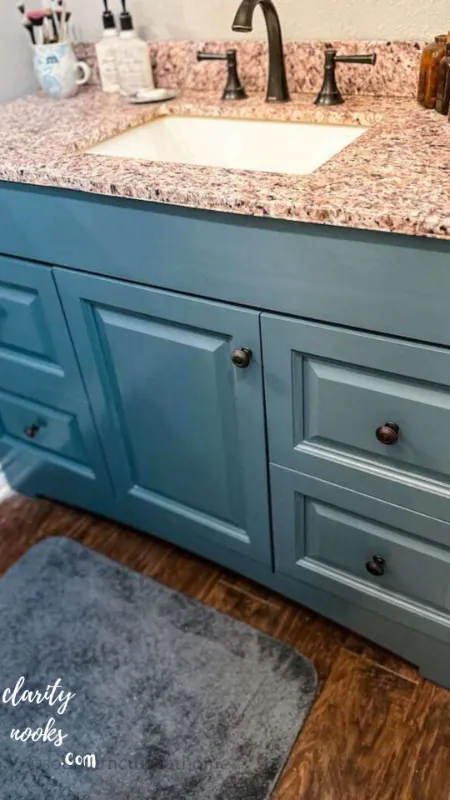
Vanity cabinets are a large surface area that’s often overlooked. Painting them in a saturated color navy, sage, or burnt orange instantly modernizes the room and pairs beautifully with white countertops or classic subway tile.
This project also lets you upgrade hardware at the same time, compounding the visual refresh for a small additional cost.
Materials Needed
- Cabinet and trim paint (semi-gloss)
- 120- and 220-grit sandpaper
- Bonding primer
- Foam rollers
- New cabinet hardware (optional)
- Screwdriver
Estimated Cost: $50–$100
Step-by-Step Instructions
- Remove doors and hardware, labeling each for reassembly.
- Sand all surfaces lightly to remove sheen and help paint adhere.
- Wipe clean and apply bonding primer, letting it dry fully.
- Apply two thin coats of cabinet paint, sanding lightly between coats.
- Let cure for 24–48 hours before rehanging doors.
- Install new hardware if desired.
Why It Works:
Repainting cabinetry avoids the cost of full vanity replacement while giving the room a completely different personality often the single most noticeable change in the space.
Decorating Tip:
Use cabinet-specific paint, not standard wall paint it’s formulated to resist chipping from daily handle contact.
Find out more: DIY Small Bathroom Ideas to Make Your Bathroom Feel Spacious
Create a Colorful Grout Accent With Tile Paint
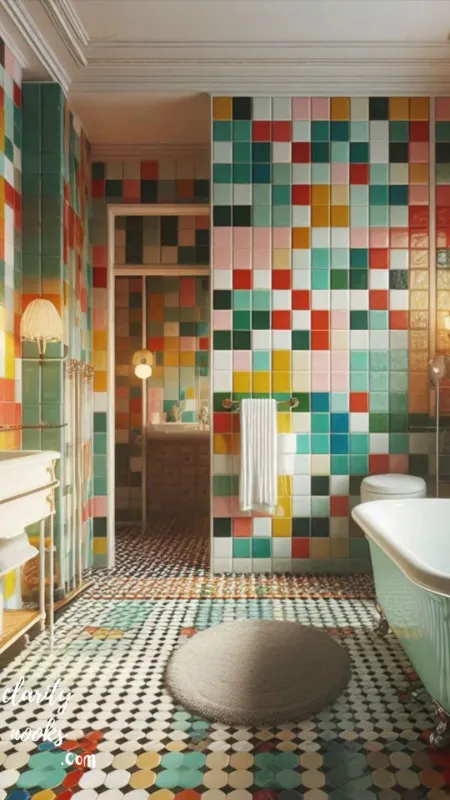
If full re-tiling isn’t in the budget, colored grout refresh is an underrated trick. Swapping white grout for a colored epoxy grout pen or refresh product changes the entire personality of existing tile without removing a single piece.
This works especially well on plain white subway tile, where colored grout lines turn a basic surface into a graphic, patterned feature.
Materials Needed
- Grout colorant pen or epoxy grout refresh
- Painter’s tape
- Small detail brush
- Microfiber cloth
Estimated Cos;t: $15–$30
Step-by-Step Instructions
- Deep-clean existing grout lines and let them dry completely.
- Tape off tile edges to avoid staining the tile face.
- Apply grout colorant along the lines using the pen or a small brush.
- Wipe excess off the tile surface immediately with a microfiber cloth before it sets.
- Let cure per product instructions, typically 24 hours, before exposing to water.
Why It Works:
This is one of the most budget-friendly bathroom color ideas on this list, often costing under $30 while completely changing how existing tile reads.
Decorating Tip:
Test the colorant on a hidden grout line first some products dry darker than they appear when wet.
See the full breakdown: DIY Colorful Kitchen Ideas: Budget-Friendly Ways to Bring Bold Color Into Your Kitchen
Build a DIY Colorful Vanity Mirror Frame
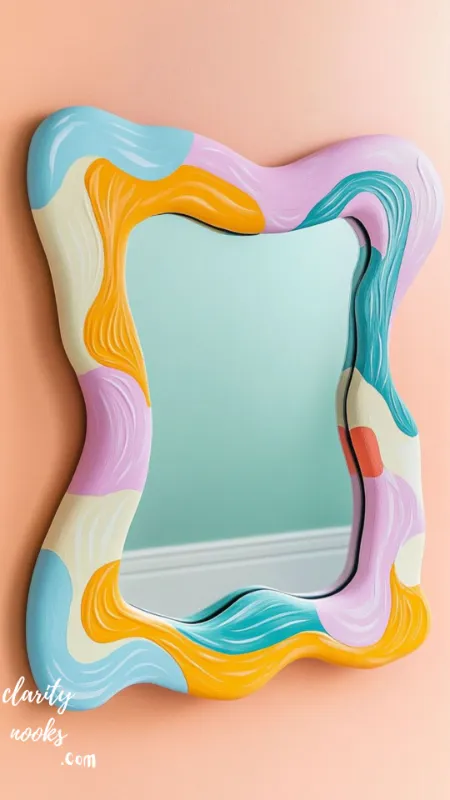
A plain builder-grade mirror is one of the most common bathroom eyesores. Framing it with painted wood molding in a bold color turns a flat mirror into a designed focal point for under $40.
This project is beginner-friendly and reversible, making it a great starting point if you’re new to bathroom DIY work.
Materials Needed
- Thin wood molding strips
- Miter box or miter saw
- Wood glue or mirror adhesive
- Paint in accent color
- Painter’s tape
- Sandpaper
Estimated Cost: $25–$45
Step-by-Step Instructions
- Measure your mirror’s dimensions and cut molding strips to size using a miter box for 45-degree corners.
- Sand cut edges smooth.
- Paint the molding strips in your chosen color and let dry fully.
- Apply mirror-safe adhesive to the back of each strip.
- Press strips onto the mirror edges, holding in place with painter’s tape until set.
- Remove tape after the adhesive cures, usually 24 hours.
Why It Works:
Framing an existing mirror avoids the cost of full mirror replacement while adding a custom, boutique-hotel look to the vanity area.
Decorating Tip:
Miter corners carefully even small gaps are very visible on a mirror frame at eye level.
Read our expert tips: DIY Colorful Living Room Ideas: Budget-Friendly Ways to Brighten Your Space
Add a Colorful Woven or Painted Ladder Shelf
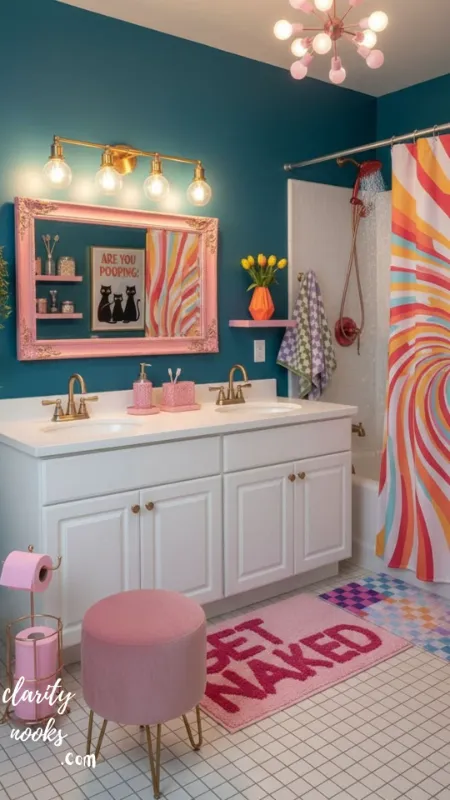
Vertical storage solves two problems at once in small bathrooms: it adds function and it introduces color through paint or woven accents without touching a single wall or fixture.
A ladder shelf painted in a bright hue also draws the eye upward, which visually increases ceiling height in cramped spaces.
Materials Needed
- Wood ladder shelf (unfinished or existing)
- Paint in accent color
- Sandpaper
- Foam brush
- Sealant (optional)
Estimated Cost: $40–$70
Step-by-Step Instructions
- Sand the shelf lightly if it’s pre-finished, to help paint adhere.
- Apply painter’s tape to any areas you want to keep unpainted.
- Paint in thin, even coats, allowing full drying time between coats.
- Apply a clear sealant coat if the shelf will be near direct water splash.
- Style shelves with folded towels, plants, and small colorful storage bins.
Why It Works:
This solves storage and color at once, which makes it one of the most functional entries on this list of DIY colorful bathroom ideas.
Decorating Tip:
Stagger towel colors and shelf-item heights rather than lining everything up it reads as curated rather than cluttered.
Don’t miss this guide: DIY Colorful Kids Room: Budget-Friendly Ideas That Actually Work
Install Colorful Window Film or Frosted Vinyl
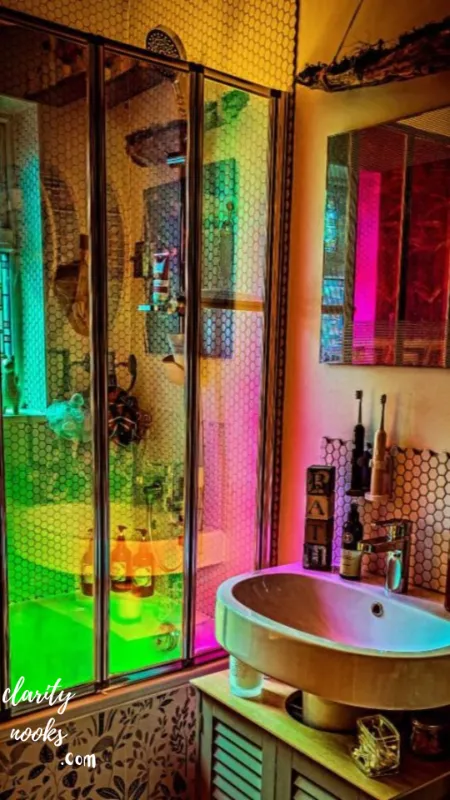
Bathroom windows need privacy, and colorful or patterned window film solves that requirement while adding a stained-glass-like design element that changes with the light throughout the day.
Unlike curtains, film keeps sightlines to natural light while blocking direct visibility, which many small bathrooms need without sacrificing brightness.
Materials Needed
- Adhesive-free static cling window film (colorful/patterned)
- Spray bottle with water
- Squeegee or credit card
- Utility knife
Estimated Cost: $20–$40
Step-by-Step Instructions
- Measure the window pane and cut film slightly larger than needed.
- Spray the window with a light water-and-soap solution.
- Peel the backing off the film and place it onto the wet glass.
- Smooth from the center outward with a squeegee to remove bubbles and excess water.
- Trim excess film edges with a utility knife for a clean fit.
Why It Works
This is a fully renter-friendly, damage-free bathroom upgrade since static cling film removes without adhesive residue.
Decorating Tip
Work with the window slightly damp, not soaking wet too much water makes the film slide and misalign.
Start learning now: DIY Bathroom Decor Ideas That Actually Elevate Your Space
Paint the Ceiling a Soft, Unexpected Color
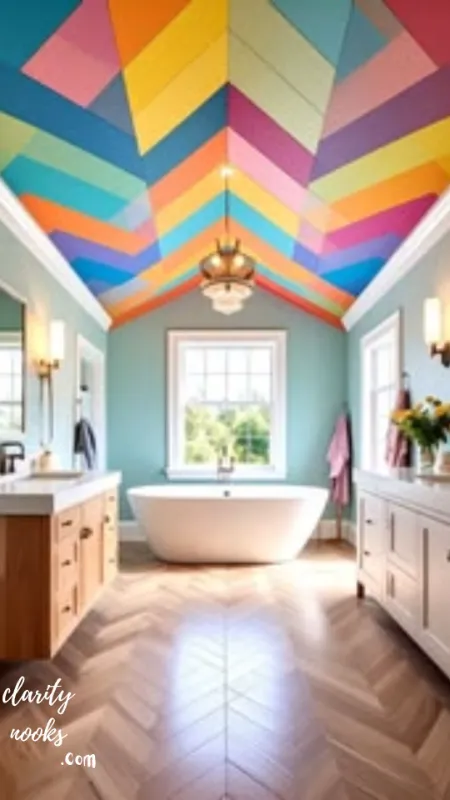
The “fifth wall” is one of the most overlooked surfaces in bathroom design. A soft blush, pale sage, or dusty blue ceiling adds color from an unexpected angle and makes the whole room feel more finished and intentional.
This works particularly well in bathrooms with clean white walls and fixtures, where a colored ceiling becomes a subtle surprise rather than an overwhelming statement.
Materials Needed
- Ceiling-rated paint in soft accent color
- Roller with extension pole
- Painter’s tape
- Drop cloths
Estimated Cost: $30–$50
Step-by-Step Instructions
- Cover fixtures and floors with drop cloths.
- Tape off the ceiling line where it meets the walls.
- Cut in edges with a brush, then roll the main ceiling area.
- Apply a second coat after 4 hours for full, even coverage.
- Remove tape carefully once fully dry.
Why It Works:
A colored ceiling costs almost nothing extra beyond standard paint but consistently reads as a high-design, magazine-style detail to guests.
Decorating Tip
Use a matte or eggshell finish on ceilings to avoid glare from overhead lighting reflecting off a glossy surface.
Read the next article: DIY Indoor Plants Ideas: 9 Budget-Friendly Projects to Green Up Every Room (2026 Guide)
Add a Colorful Painted or Stenciled Floor
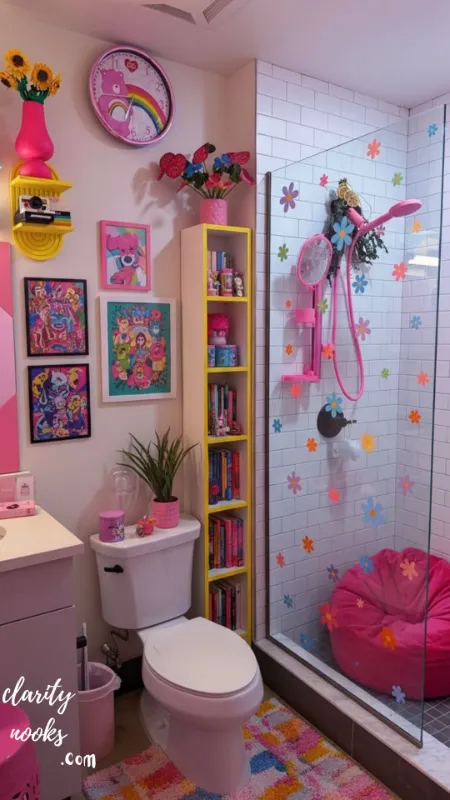
If replacing bathroom flooring isn’t realistic right now, painting existing tile or vinyl with floor-rated paint and a stencil pattern creates a dramatic, cement-tile-inspired look for a fraction of the cost.
This project takes the most patience of anything on this list but delivers a genuinely showroom-quality transformation that most guests assume was professionally installed.
Materials Needed
- Floor-rated epoxy or porch paint
- Stencil pattern
- Painter’s tape
- Small foam roller
- Sealant/topcoat
- Sandpaper
Estimated Cost: $80–$150
Step-by-Step Instructions
- Clean the floor thoroughly and lightly sand for grip if it’s glossy tile.
- Apply a base coat in your primary color and let cure fully.
- Position the stencil and secure it flat with tape.
- Roll the second color through the stencil in thin, even layers, lifting carefully to avoid smudging.
- Move the stencil systematically across the floor, repeating the pattern.
- Seal the entire floor with two coats of clear topcoat once dry.
Why It Works:
Painted stenciled floors mimic the look of imported cement tile often a $15–$25-per-square-foot material for a fraction of that cost.
Decorating Tip:
Always finish with a durable topcoat rated for foot traffic and moisture, or the pattern will wear away within months.
Style With Colorful Textiles, Art, and Small Decor
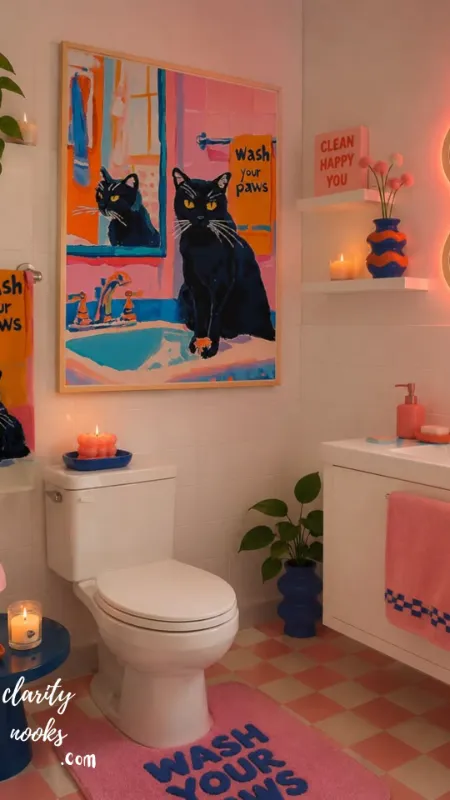
If you’re not ready for paint or adhesive projects at all, textiles alone can transform a bathroom’s color story. Bath mats, hand towels, soap dispensers, and small framed art add color in fully removable, low-cost layers.
This is also the easiest way to test a color direction before committing to something more permanent, like an accent wall or painted vanity.
Materials Needed
- Colorful bath mat
- Coordinating hand towels
- Small framed art or prints
- Soap dispenser and accessory set
Estimated Cost: $30–$80
Step-by-Step Instructions
- Choose one dominant accent color to anchor the palette.
- Select a bath mat and towels in that color or a complementary tone.
- Add one or two pieces of small art at eye level near the mirror.
- Swap soap dispensers, cups, and trays to match or contrast intentionally.
- Step back and edit remove one item if the space feels crowded.
Why It Works:
This is the lowest-risk entry point for color-shy homeowners, since every element can be returned, replaced, or reworked without any wall damage.
Decorating Tip:
Stick to a 60-30-10 color ratio 60% neutral, 30% your main accent color, 10% a contrasting pop to keep the room feeling designed, not chaotic.
Final Thoughts
A dated, forgettable bathroom doesn’t require a full remodel to fix. These DIY colorful bathroom ideas prove that paint, textiles, and a few weekend hours can completely change how the space feels every single day. Start small if you’re unsure a curtain or a mirror frame then build toward bolder moves like an accent wall or painted tub once you know your style. The best bathroom is one that actually feels like yours, so pick one idea from this list and try it this weekend.
Trend Analysis: Colorful Bathrooms in 2026 and Beyond
In 2026, maximalist bathroom design continues to gain ground over the all-white, spa-neutral look that dominated the last decade. Homeowners are increasingly treating bathrooms like any other room worth decorating, not just a utilitarian space to keep sterile and beige.
Search behavior backs this up: queries for “colorful bathroom ideas” and “DIY bathroom color” have climbed steadily as more people renovate on smaller budgets and look for reversible, rental-friendly solutions rather than full remodels.
Over the next two to three years, expect continued growth in terracotta, deep green, and warm jewel tones, alongside a rising interest in mixed-pattern tile work and “grandmillennial” color palettes that blend vintage pastels with bold modern accents.
Practical Tips and Expert Insights
Professional colorists consistently recommend testing paint in the actual bathroom, under its actual lighting, before committing. Bathroom lighting often a mix of a single overhead fixture and vanity sconces can shift how a color reads dramatically compared to a paint chip under daylight.
A common professional trick is to introduce color through the least permanent layer first (textiles, then hardware, then paint, then tile) so you can course-correct cheaply if a bold choice doesn’t feel right after living with it for a week.
Contractors also flag ventilation as the most overlooked factor in colorful bathroom projects a saturated paint or wallpaper will fail faster in a poorly ventilated bathroom, regardless of how well it was applied.
Long-Term Strategy and Sustainability
Choosing reversible, layered updates curtains, textiles, removable film protects resale value while still letting you enjoy a colorful space today. This matters most in starter homes or rentals, where a future buyer or landlord may prefer neutral walls.
For permanent changes like tub reglazing or tile work, sticking to timeless undertones (even within a bold color) extends the life of the investment. A deep teal with the right undertone can feel current for a decade, while a trend-driven neon shade may date quickly.
Sustainability also plays a role: water-based, low-VOC paints and durable epoxy refinishing products reduce both environmental impact and the need for premature replacement, making them the smarter long-term choice for budget-conscious DIYers.
Future Predictions and Innovations
Expect AI-assisted color visualization tools to become standard in home improvement apps over the next few years, letting homeowners upload a photo of their own bathroom and preview accent wall colors instantly before buying paint.
Manufacturers are also innovating on peel-and-stick and film-based products, with next-generation materials designed to handle direct shower spray, not just splash zones which would expand the DIY toolkit well beyond backsplashes and windows.
Longer-term, smart mirrors and app-controlled LED lighting that shift color temperature are likely to merge with colorful design trends, letting homeowners change a room’s mood with a tap rather than a paintbrush.
Common Mistakes and Hidden Gaps
The most frequent beginner mistake is using standard wall paint instead of moisture-resistant, bathroom-rated paint, which leads to peeling, bubbling, or mildew within months, especially in bathrooms without an exhaust fan.
Intermediate DIYers often go bold on every surface at once walls, cabinets, and floor which can overwhelm a small space. Professional designers typically recommend committing to color on one or two surfaces and letting the rest stay neutral.
A hidden gap many guides skip: skipping proper cure time on epoxy tub refinishing or tile paint. Even a single early shower can permanently damage a otherwise well-executed project, so patience during curing is as important as the application itself.
Frequently Asked Questions
What is the cheapest way to add color to a bathroom?
The cheapest option is swapping textiles a colorful bath mat, towels, and shower curtain can update a bathroom’s color story for under $50 with zero tools or wall damage.
Is it safe to paint a bathroom in a bold color?
As long as you use a moisture-resistant paint in a satin, semi-gloss, or high-gloss finish. Flat paint is more likely to absorb humidity and develop mildew over time.
Can renters do colorful bathroom DIY projects?
Absolutely. Peel-and-stick tile, static-cling window film, textiles, and removable shelving all add color without violating a typical lease, since they remove cleanly without damaging surfaces.
How long does a DIY colorful bathroom makeover take?
Most single-project updates (accent wall, mirror frame, textiles) take one afternoon to a full day. Larger projects like tub reglazing or floor painting typically span a weekend, including cure time.
What colors are trending for bathrooms right now?
Deep teal, terracotta, sage green, and warm jewel tones are leading 2026 trends, often paired with matte black or brushed brass fixtures for contrast.
Rameen Zara is the founder of Clarity Nooks, bringing over five years of experience in home décor and interior styling. She shares simple yet practical design ideas that suit real homes and everyday living. Her approach focuses on cozy aesthetics, soft color palettes, and natural textures that create warm, inviting spaces.